1
by @Buri (lemmy.world)
 
 
2
 
 
3
45 Minute Painting (lemmy.world)
submitted 14 hours ago by to c/artshare@lemmy.world
4
 
 
5


I made this yesterday.

6
 
 
7
Two families (jlai.lu)
submitted 3 hours ago by to c/artshare@lemmy.world


A drawing that I struggled to finish or felt like giving up at it, until I managed to land an idea on it.

After 70 discarded layers, I ended up with the idea of drawing Aria in her past and just scrapping the old idea I had completely.

8
9
 
 
10
submitted 13 hours ago by to c/artshare@lemmy.world


I painted this one for a Pride auction last year. I had a long description in the auction catalog but here, I'll let everyone decide for themselves what "intersections" means to them.

11


Hey everyone,

I'm thinking of upgrading from a creality k1 to a snapmaker u1. Partly for the multicolour printing with the toolhead system, but also because of a few frustrations with the k1.

Before I make the jump, Can anyone comment on what the general print quality is like with the U1?

Cheers

12
13
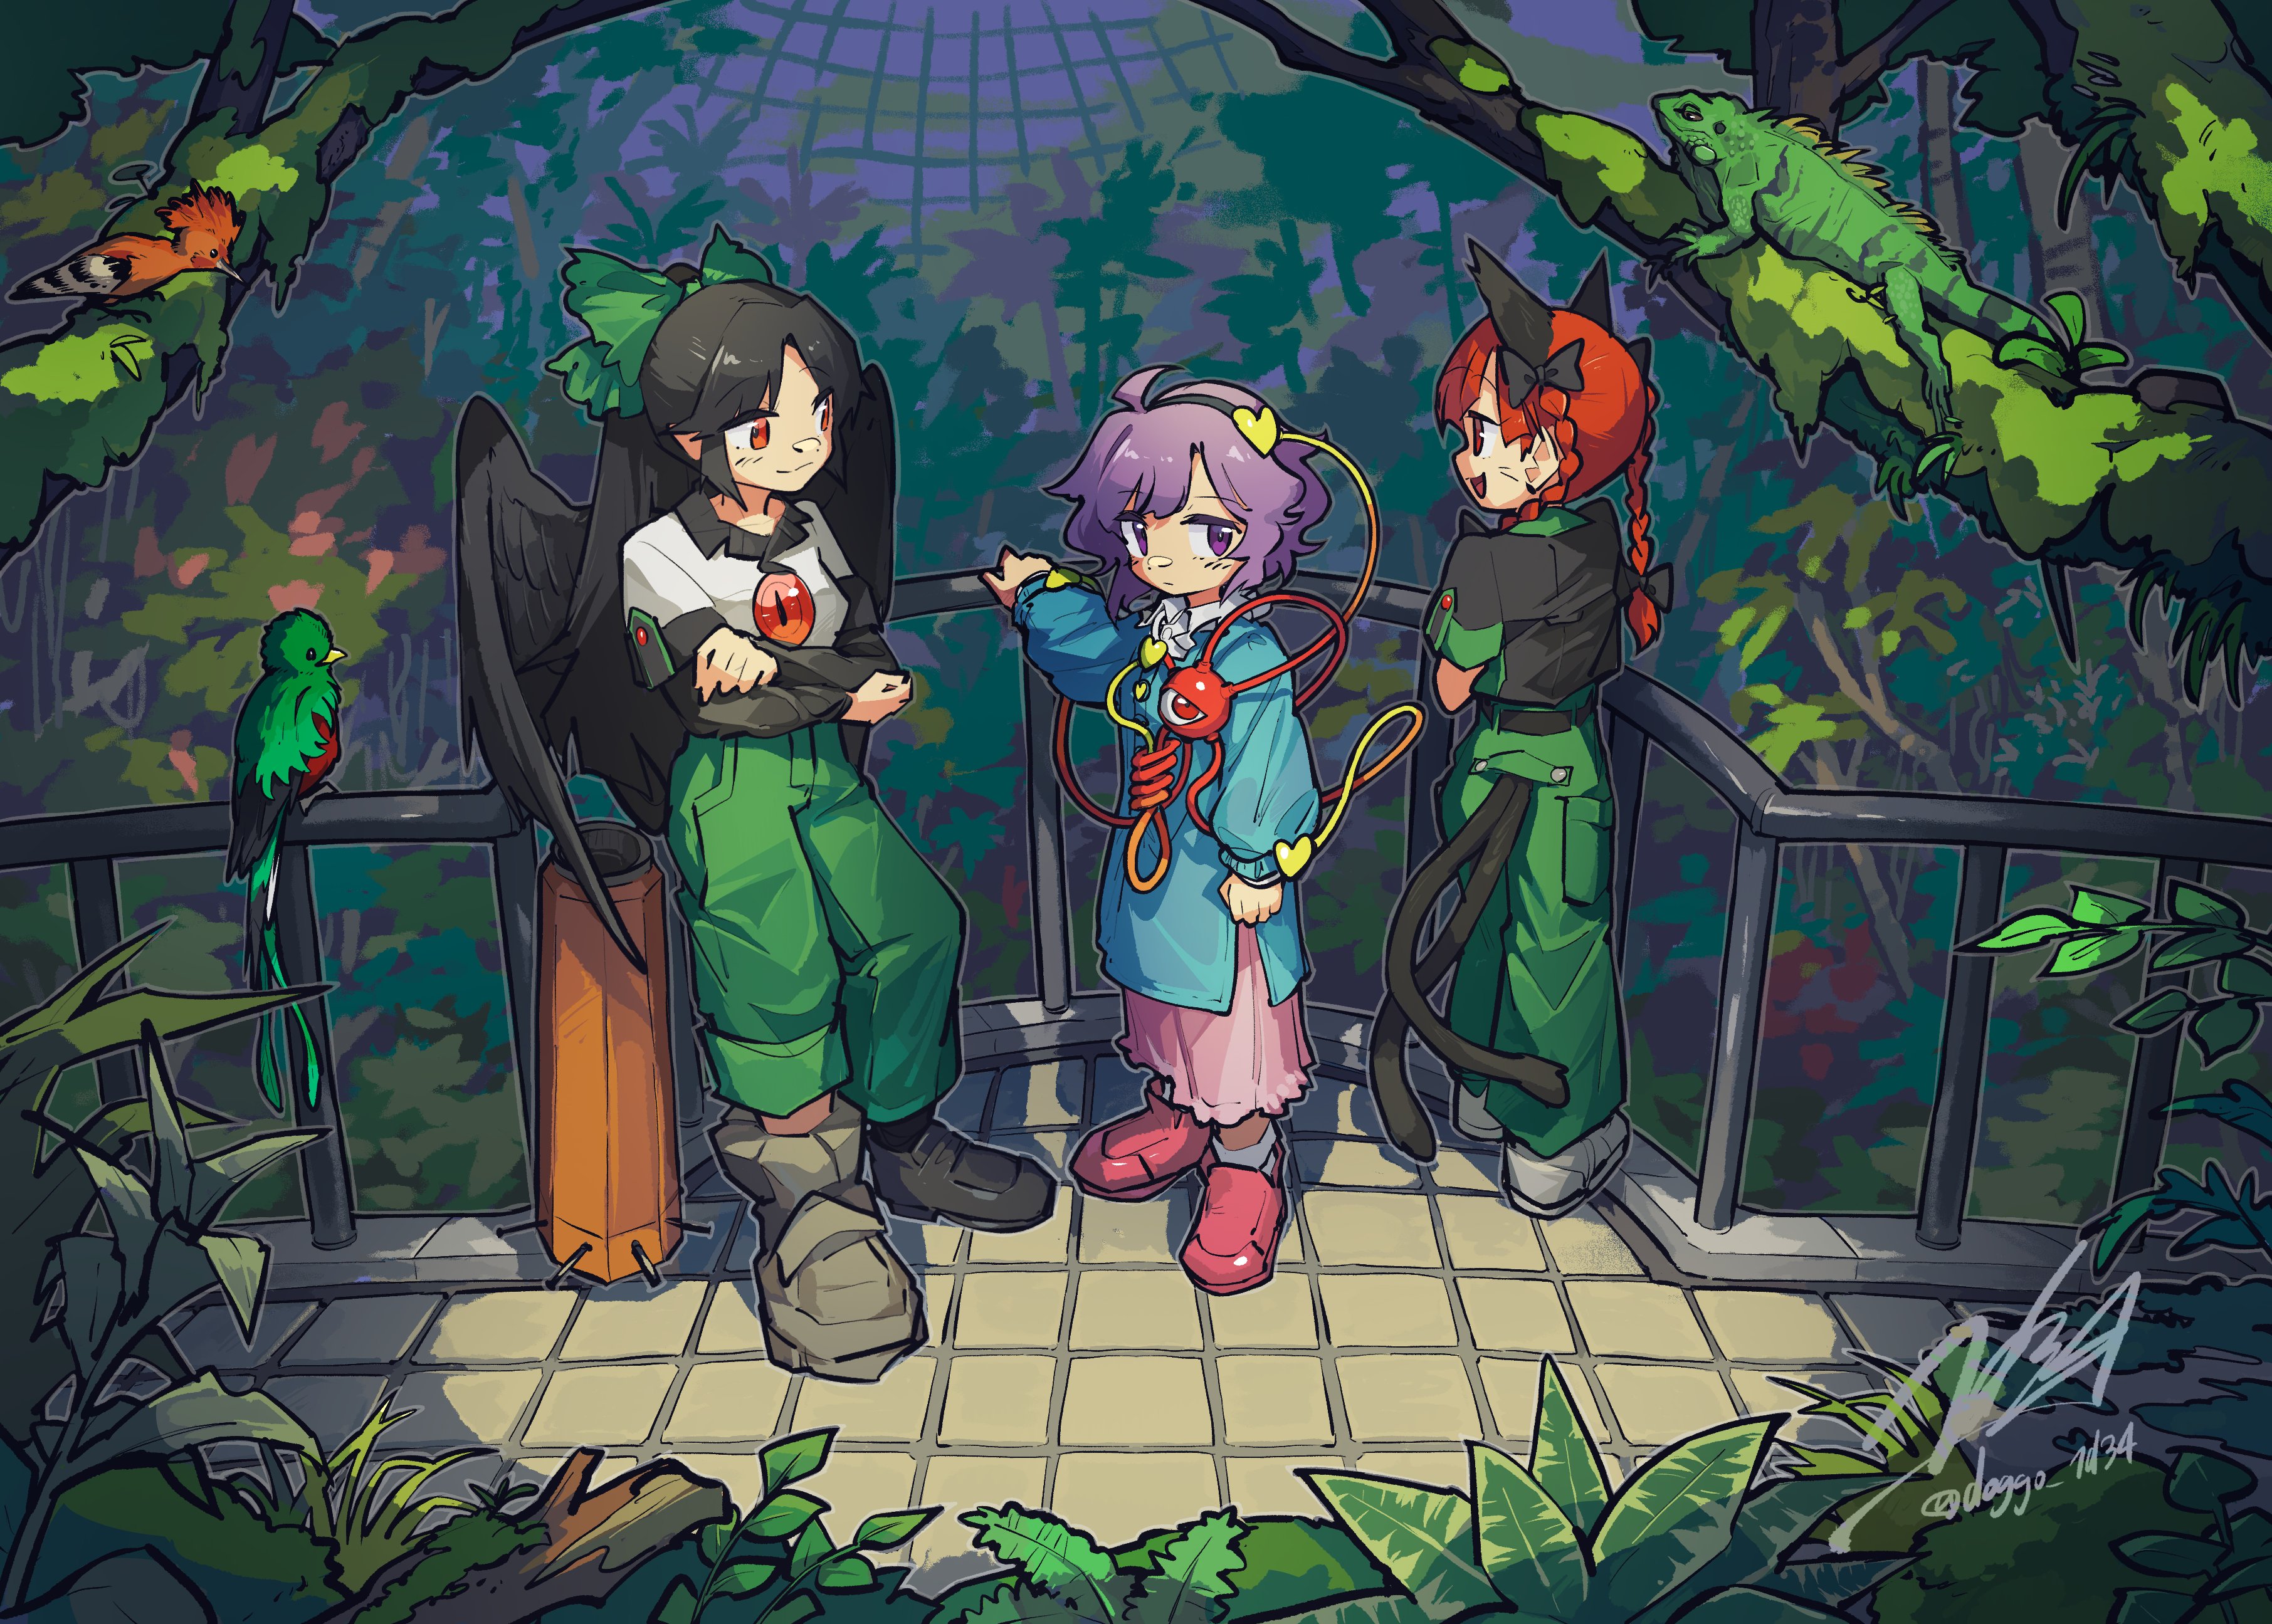
Satori Day (dl.touhoppai.moe)
submitted 13 hours ago by to c/touhou@ani.social


Source | Author: dogoo 1d34 | Characters: Satori Komeiji, Okuu, Rin Kaenbyou

14
submitted 13 hours ago by to c/artshare@lemmy.world
 
 
15


Hi everyone.

16
untitled (sh.itjust.works)


Thought it'd be cool to use some of the black and white stuff I usually ignore in the magazine stash (noted one of the other ones I posted here is also mostly b&w)

17
submitted 20 hours ago by to c/anime_art@ani.social
 
 
18


Hey everyone, I am trying to get my piece of junk Tiertime UP Mini 2 printer to work somewhat reliably, but it also is my first printer, so I don't have a lot of practice with debugging these things. While flushing some PLA through the Hot End (without a nozzle) I noticed that it looks very bubbly at temperatures between 195°C and 210°C (see picture above) and I wondered if this should tell me that I have been printing too hot. With lower temperature (160°C) the film looks pretty smooth (see second picture below) but that sounds way too low to actually print PLA with. I now tried printing with my 0.4mm nozzle at 190°C, but had no adhesion on the bed. It was no better at 200°C. Both times the bed was at about 55°C. Is there something I do fundamentally wrong or is that a normal texture for PLA after heating? I would have printed a temperature tower, but firstly I have no adhesion on the first layer and secondly I do not think I can set different temperatures for different regions in the Tiertime slicer I have to use with this printer. Usually I would like to try out a bunch of things, but before I sink hours into this and clog my nozzle really badly again, I wondered if any of you has some suggestions.

Context: I am working on this on and off for the last year, but it is quite frustrating, because with each clogging I need so much time to get the nozzle and hot end free again. I got the printer for free and its form factor fits perfectly into one space I have free in my apartment. The printer came loaded with ABS, but I didn't like the smell in combination with air filter, that has never been changed. So I figured PLA would be better for a beginner. Maybe my problems started there, because I didn't consider that cleaning might be necessary for the switch. I was able to get a fine benchy out of there a couple of times but usually after 3 or four prints, I get clogging in the heating element (I suspect heat creep being an issue). So right now I have some flow through the hot end again after I cleaned it over a couple of days with cycles of soaking in acetone and picking out softened PLA. When doing a couple of cold pulls with a cleaning filment by eSun at 110°C, I noticed the behaviour described above. I also exchanged the nozzle once although that one might be messed up now as well. A couple of times the prints failed by not extruding anything anymore and liquid PLA coming out between hot end and nozzle. But last time, I am pretty sure the clog was higher, somewhere inside the hot end, which is why I did this long solvent cleaning.

I am happy about any help and tips you might have!

19
20
 
 
21

22


Using a simple generic pen brush I followed a few video tutorials on how to make mechs. I had fun.

23
24


I was feeling brave and decided to copy from a reference today. Tracing had me worried that I wouldn't have the chops to make something good, but I'm satisfied. I was watching Knights of Guinevere and this frame really caught my attention.

Andrea from M-7

I had a more involved post last time, but this time I am working with pencil and paper, so here's the final result again:

Sketch

I thought it looked pretty good, but I wanted to see where I could improve. I dropped this into Krita and started checking the differences:

Not helpful overlay

Obviously, this isn't useful, so I went and drew lines to see the difference between the reference and sketch:

Comparison

I noted that the original is wider, but I really caught the left edge of the face pretty well so I'm proud of that. The hair is much thinner/closer to the right half. Despite this, I think I got what was aiming for.

P.S., would definitely recommend (it's free):

https://www.youtube.com/watch?v=MCAdbUaMlAE&list=PLHovnlOusNLhr7ttEReJUuC3QPHoohqZn

25


https://imgur.com/a/oGgJsQq (Photos)

So firstly I'll explain the photos then the process.

The molotov cocktail was basic PLA. The ink was printed on printer paper with speedball fabric block ink.

The cat stamp. There are 3 versions. The small one (with a missing line on the teeth) was tpu glued to pla backing.

I tried both stamp ink (teal) and speedball ink (black).

The two larger ones printed in lime green are both PLA. I just tried one with ironing on and ironing off and slightly adjusted the design to remove smooth edges because traditional lino carving has sharper edges on the positive parts.

Okay so now I'll explain my method.

I sketched both design ideas on paper and scanned them. I then used Adobe illustrator to make a vector drawing.

I imported into Blender but the vector was all messed up. Artifacts and such.

So I went back to illustrator. Exported the vector image as a png file. Loaded that into a vector tracer program. Had a new vector svg file made.

Loaded that into blender. That worked. Extruded (as a curve object). Then converted to mesh object.

The molotov needed additional work to prepare for printing. I used Photoshop to help divide and make masks for the areas that would be printed with different colors. Determined the appropriate order.

Decided to print them all with the same size backplate for easy positioning.

When I imported the svg files into Blender and made the "stamp" I added ovals to the ends of the plates with excess negative space to make them balanced when pressing down on the paper.

Mounted to a surface. Oval for cats. Rectangle for molotov.

I made it so the extruded pattern was 2mm thick and the bottom 1mm for the TPU print (one of the cats) and 1.5mm-2mm thick for the full PLA prints. (Ish). I can't remember the exact thicknesses.

Total thickness for molotov (full PLA) was ~3.5mm.

The one cat I printed in TPU (95a) was glued to an oval of PLA for support.

All 3d prints were solid. No infill. 3 walls. Both for pla and tpu.

All surfaces of the stamp / linocut were sanded. The regular PLA sanded down easy with 220m The TPU was harder to smooth. I used 100 to start with and it still took forever. And then a little with 220 once I was satisfied.

As mentioned, I tried both stamp ink and block printing ink on the cats.

Usually with linocut printing the paper goes on to the stamp/block/linocut, but I did this old school stamp style. Putting the stamp on the paper and pressing down. I used a hard brayer to help with this part.

For the molotov, I used a pencil to trace a rectangle on the paper and used this as a guide to position the stamp plate from each color. I also let each color dry for 2 hours between them.

It seemed like the block ink looked considerably better on the TPU (the tooth missing cat stamp) but I also did make another TPU print of a different design (not in photos) and the quality was not better with the TPU for block ink (speedball). So I no longer am experimenting with it. Though I do plan to try Petg since it's more flexible than pla.

TPU is better with stamp ink than PLA but I'm not planning on using stamp ink. That was just to see if it worked. But if that's what you plan to use, make the stamps out of TPU.

The speedball inks aren't the best but I only use my good expensive inks on "prints".

So you will notice the quality isn't super great. Plus my old blue was nearly dried up.

The black usually prints decent but didn't look great on the molotov.

Anyway. I think that's all the details.

I have experience in the arts and do make actual linocut prints. So I already had all of those tools and some printing ink.

I think there are limits on 3d printing linocut designs. But honestly it was considerably less time than making real ones. And since I made uniform rectangles for the molotov , I was able to get pretty good alignment without a bunch of additional work that is usually required for multicolor prints.

I do have a rolling press, and I'm sure I could get better results with that.

I'd also like to try 3d printing the designs in a smaller nozzle for better detail.

view more: next ›