1


The eyes are a bit big but I think it's cute

It's a melanoid axolotl as a Christmas present for a friend's kid who loves them but can't play with them because of the whole being in a glass tank thing

Walnut, brass, and some mystery reddish hardwood for the gills

2
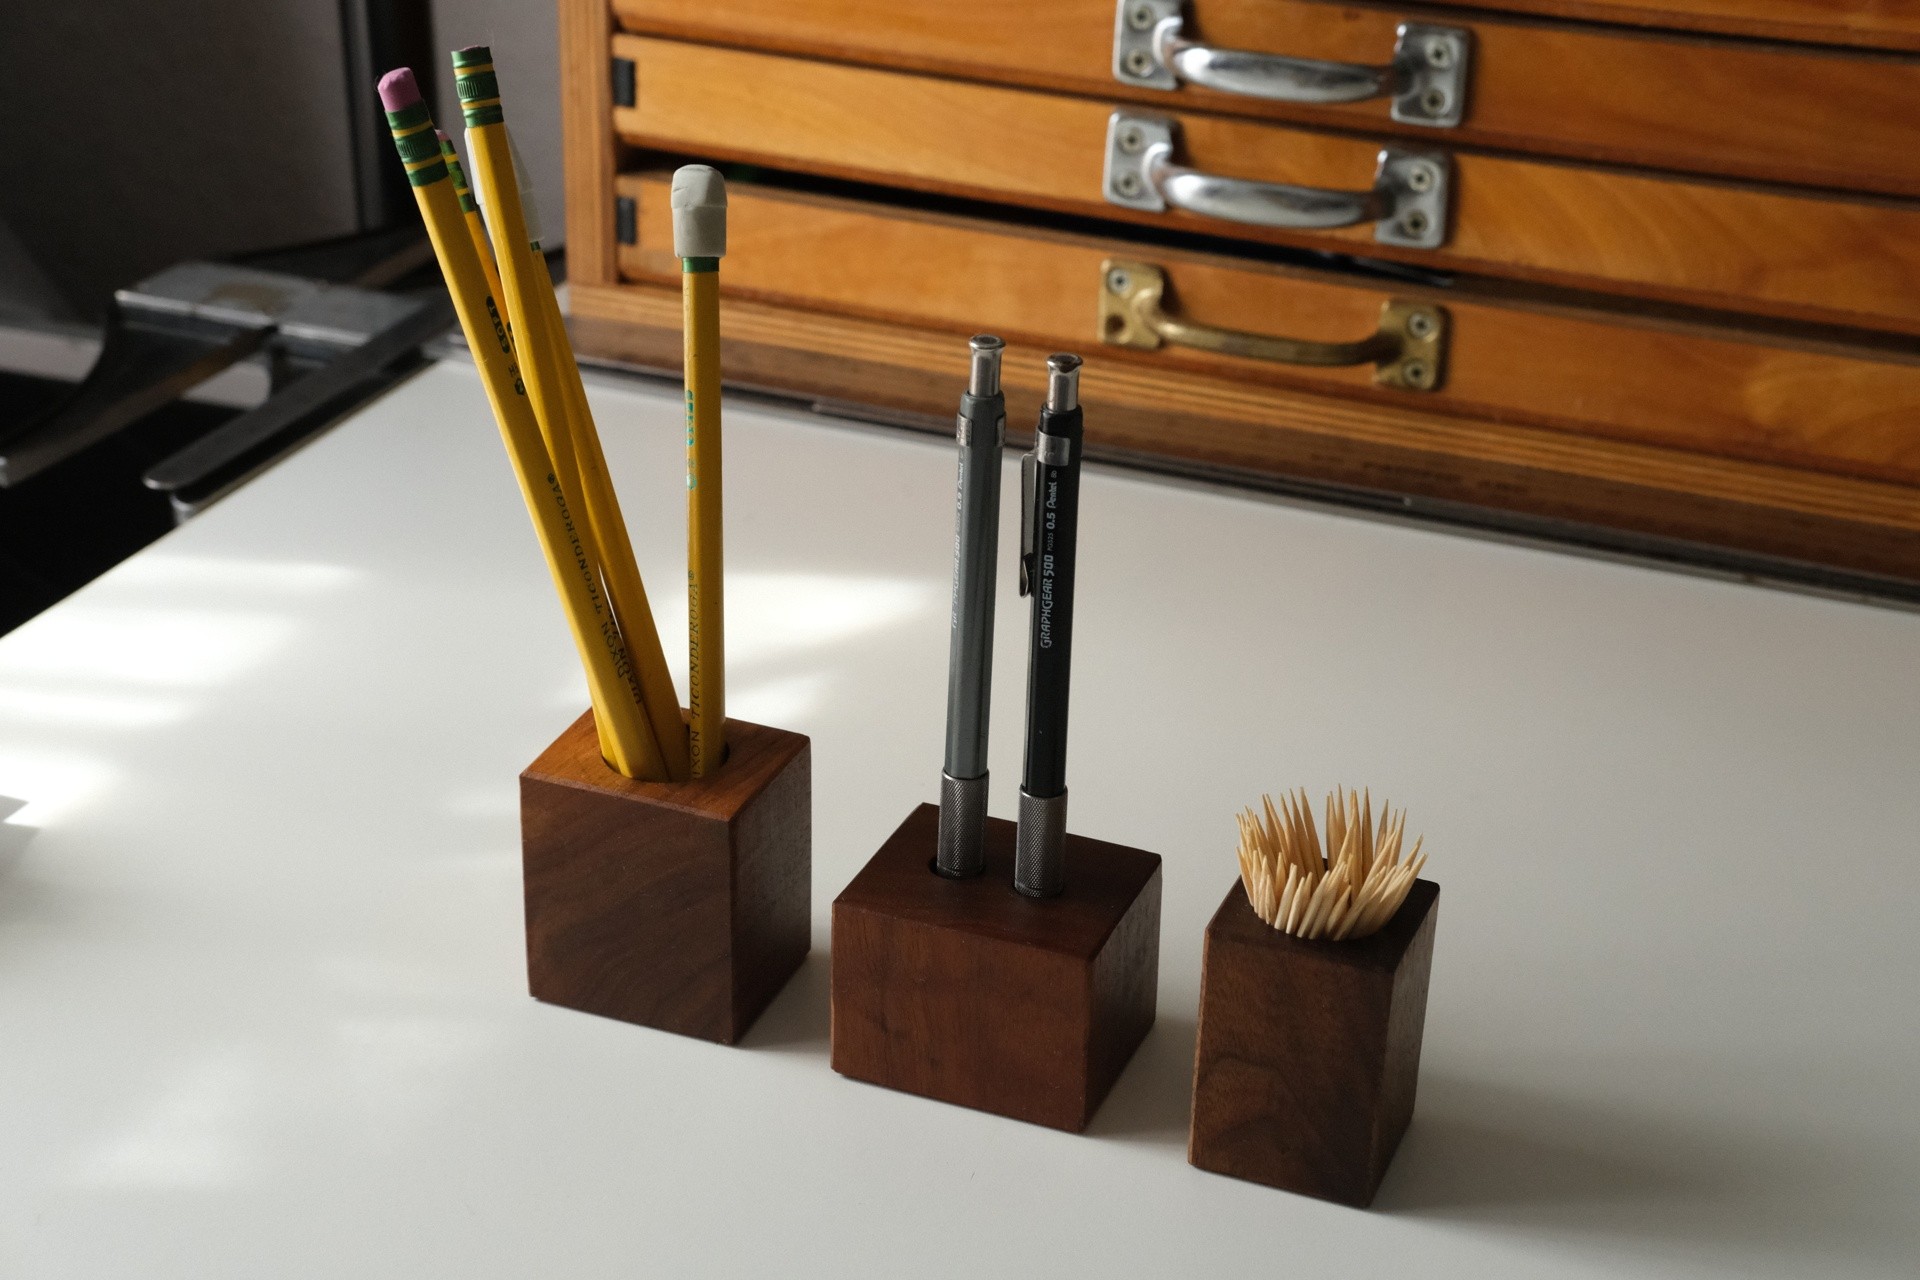
Simple Ideas (media.piefed.social)


Made these years ago trying to use up offcuts.

Just simple blocks with holes drilled. They actually come in handy and could be good gift ideas.

#woodoworking #hobby #oc

Simple Ideas
3
4


(it's a training dagger for a friend who does medieval swordfighting stuff, though it's also got a good magic wand energy to it)

5


I’ll give you guys a rundown.

You’ll need some things: -sharp block plane -painters tape -flat plate -various adhesive backed sandpaper -hand drill -food grade mineral oil -1/4” x 5/16” figured hardwood you pilfered from work -the PrettyWhooped Chopstick Jig (drawings available upon request)

Okay, here’s the recipe:

  1. Fit hardwood stock into slot (1). With a block plane that’s been offset with three strips of painter’s tape on both sides, shave stock until you can’t remove anymore.

  2. Remove the stock (I use a 1/8” chisel) and flip. Remove two strips of tape from plane, and shave stock.

  3. Insert stock into slot (2). Be sure stock sits against back wall of slot. Shave stock. Rotate stock 90° and shave.

  4. Rotate stock another 90° and insert into slot (3). As before, ensure stock is against back wall. Shave. Rotate 90°. Shave.

  5. Place stock in slot (4) and shave the exposed corner. Rotate 90° and shave. Repeat for all corners.

  6. Move stock to slot (5). Shave and repeat for all corners. You should now have a chopstick that measures 1/4” square at the base and tapers halfway to a 5/32” octagon at the tip with chamfered corners all around.

  7. Clean up any rough surfaces with your flat plate and sandpaper.

  8. Wrap base in a few layers of painter’s tape and mount it in your hand drill. The tape should protect your workpiece, but still be careful to not over tighten. Carefully turn the drill and run the tip of your work piece against your sandpapered flat plate. You’ll want to support it with your free hand, but if some correctly, you should get a slight round chamfer.

  9. Remove tape and clean up any marks left by the drill by again sanding with the flat plate. Round over the remaining sharp corners at the base by dragging the chopstick against the flat plate in a rolling motion.

  10. Repeat step 1-9 to make a mate and finish by soaking in mineral oil for an hour or so. Let cure to manufacturer’s recommendations.

Make sure you’re always rotating the same direction and keep your plane sharp. Shouldn’t take more than 10-15 minutes a stick.

Enjoy!

6


Got a mini-lathe for Christmas last year and needed something to put it on. Hundreds of spinning tops and mushrooms later, I’m pretty sure it was worth it. Here’s a couple other things from my lathe.

My first bow turned out pretty nice I think

Mini bat for one of the neighborhood kids

7


Measure twice...cut once...swear...repeat

8


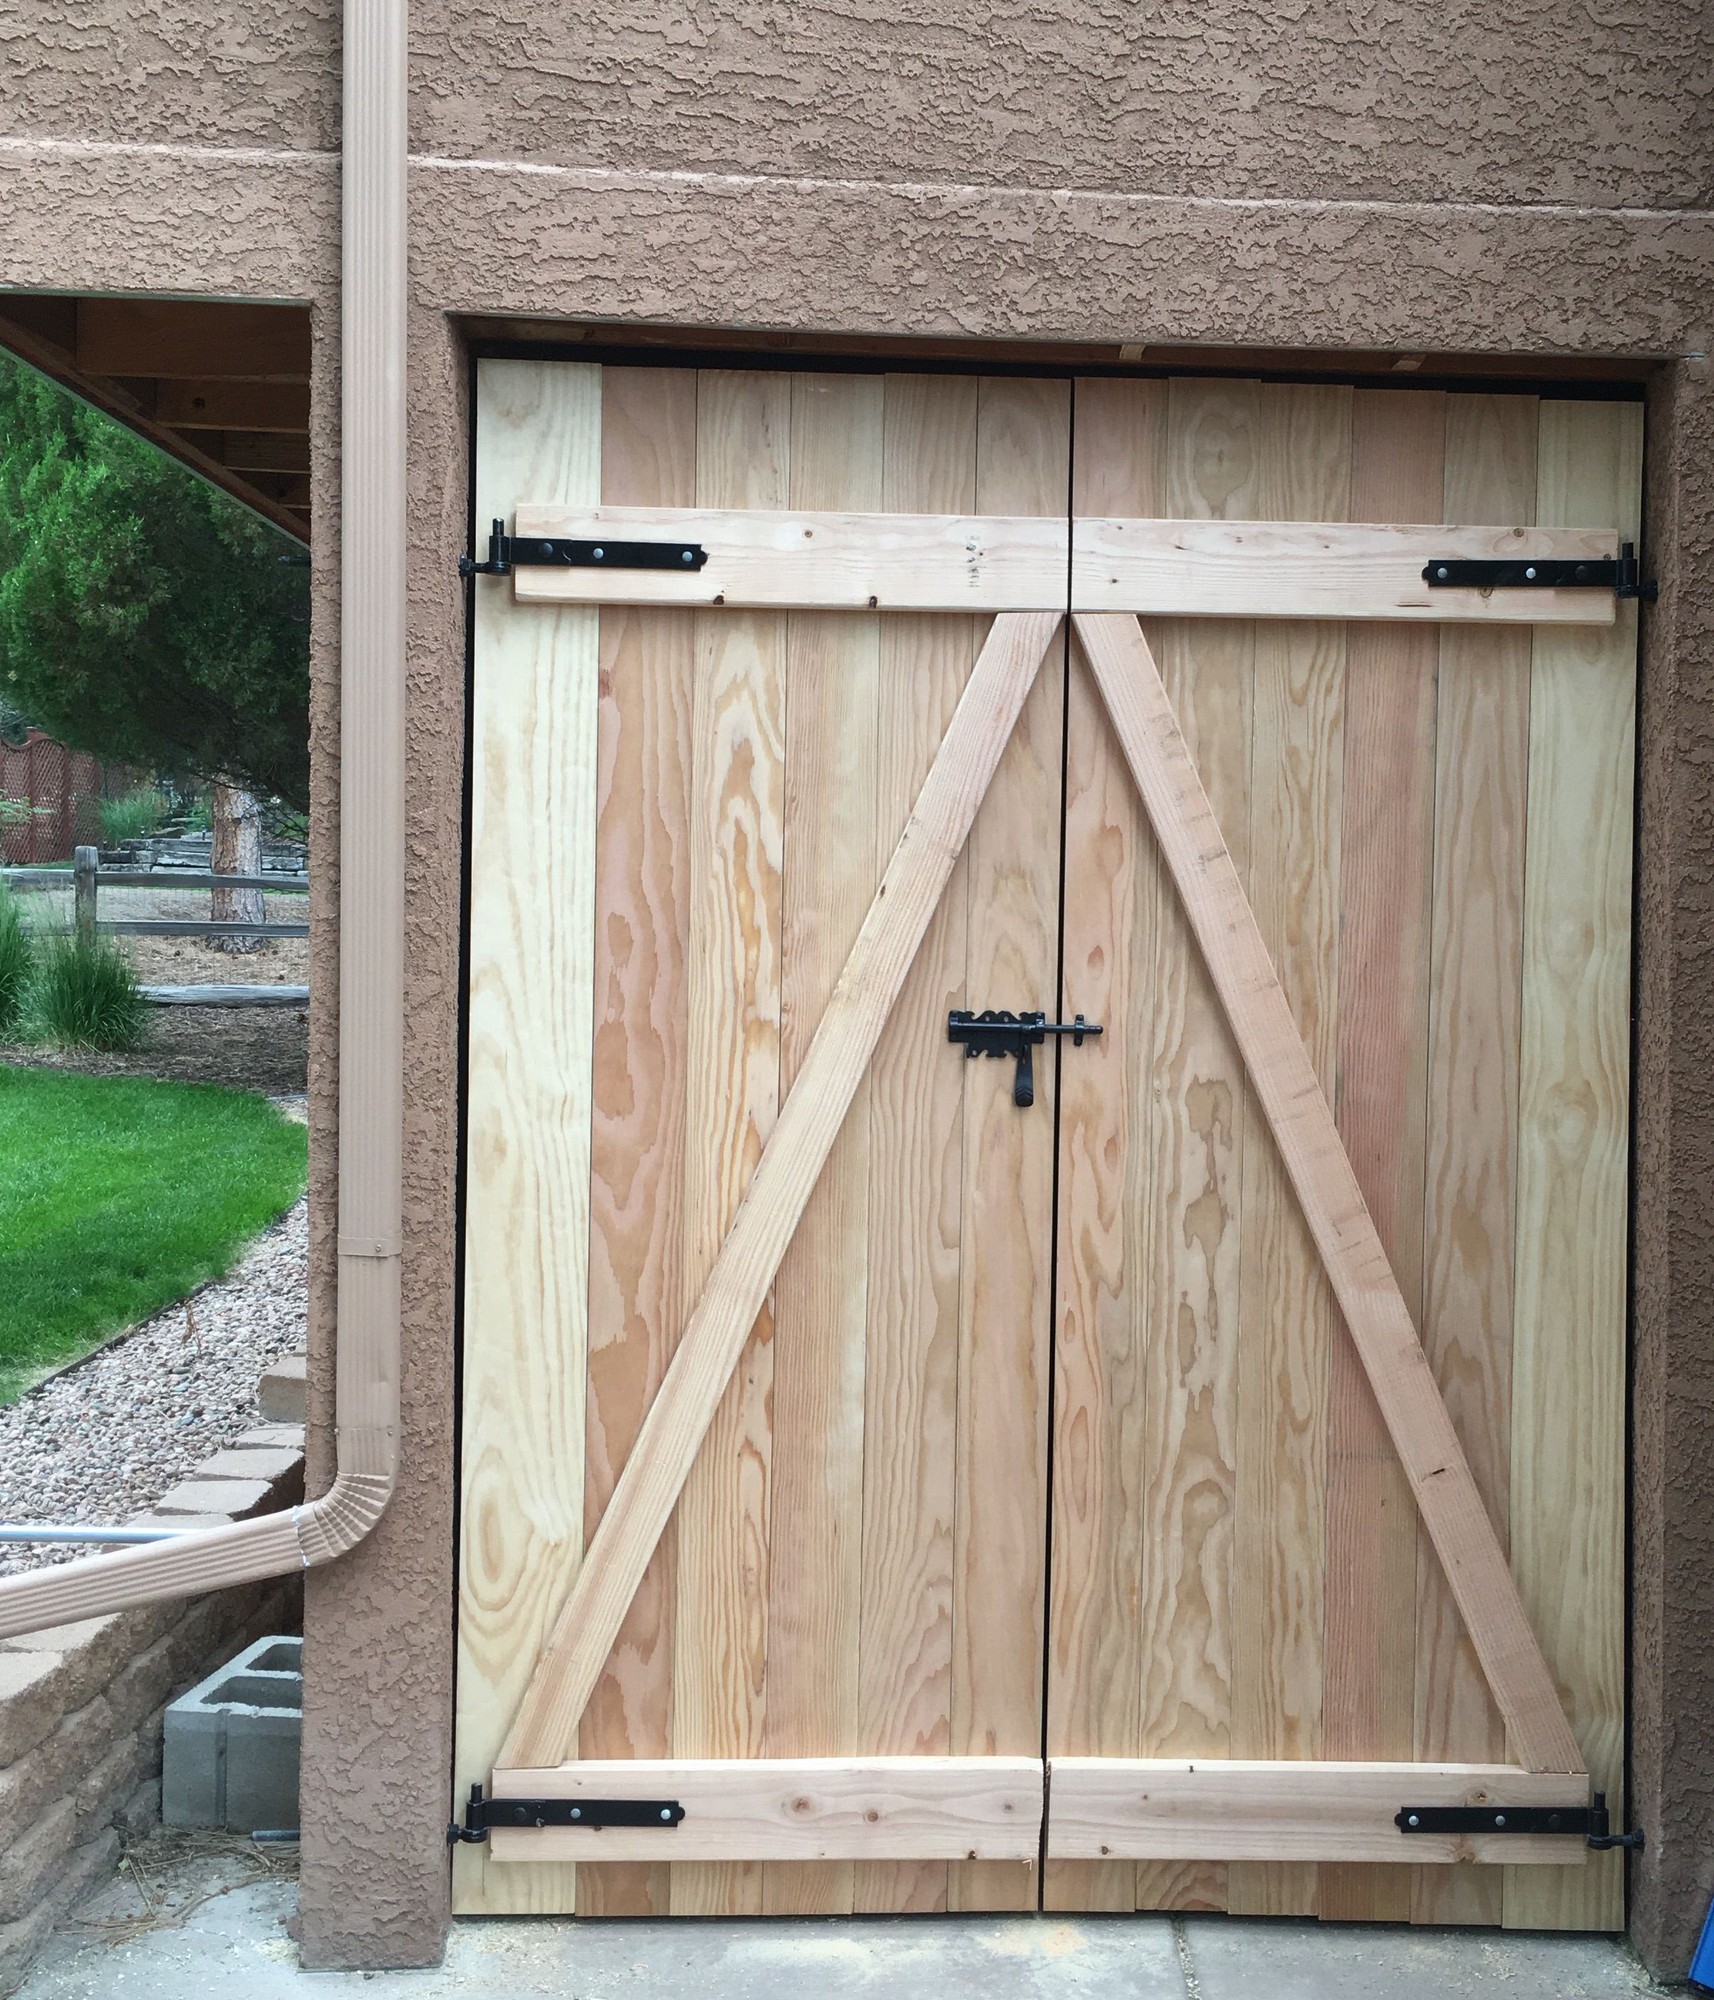
I'm building a shed, and want a large single door on the end. It's 47" wide by 74" high (roughly 4'x6' or 120cm x 180cm), framed like a regular house door would be (header of two 2x boards with plywood sandwiched; joist and trimmer on each side). I'd like the door to avoid sagging, and also be strong enough so when kids inevitably climb on it that's fine too.

I see lots of patterns for shed doors, for example (from secrets-of-shed-building) the zig zag, with a pair of triangles bearing weight down to the hinge edge:
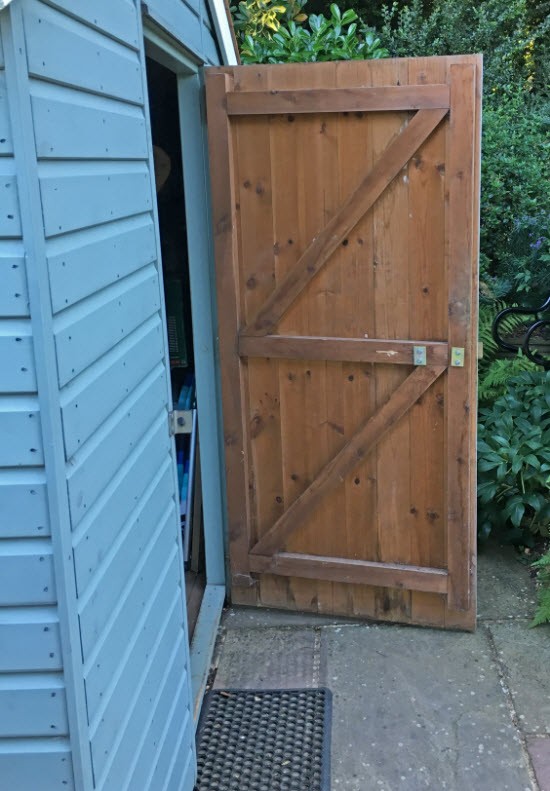
zig zag shed door

Or (from artofit but are they the new pinterest or something?) the high single diagonal:
single diagonal door

Or rectangles, or exes on the lower or both halves. Does the variety mean it doesn't really matter?

The shed has plywood sheathing, and I'm planning to have a single panel of plywood sheathing on the door, does that provide enough shear stiffness?

And I'll probably use 2x4 framing on the back/inside of the door, maybe lap joints for fun though most people seem to just do butt joints, probbly flat against the door though I see some folks putting the 2x4s edge against the door like they're just framing more wall.

Any experience with sagging or successful doors very welcome, or structural theory to apply here! Thanks in advance.

9


The design is pretty straight forward: a V notch bisected by a straightedge, but aligning it during glue up was tricky. If I make another I'll think about fitting the straightedge into a rabbet or something so it's not sliding around.

A shop-made wooden center finder being used on the end of a dowel
10
I think... (lemmy.ca)
submitted 3 weeks ago by to c/woodworking@lemmy.ca


Am gonna start wearing welder's gloves...might stop me from leaving blood samples all over my work :(

11


I talked to a neighbor I met in the neighborhood workshop, he told me he had around 2000 mm x 150 mm, each dried logs of cherry and juniper. The juniper I figure I can carve into kitchen utensils, and the cherry can be used for tool handles.

The problem is I'm a complete beginner to woodworking. I have no clue how I should go about preparing the stock for this. I have a set of chisels, a Stanley No.5, Stanley No.4½, all of which I have the ability to sharpen. I have no hatchets, froes, or logging chisels.

He said he was gonna throw this out soon, and hardwood is hard to come by where I live.

EDIT: To clarify, I share the workshop with this neighbor, and a few other neighbors. The wood has been stored in this location for several years, and I would keep storing it here. Thank you for all of your replies!

12


I received a bottle opener, and I wanted it to be on display. The stand consists of two pieces of pear wood. The axe I oiled, and the base I will leave untreated.

13


I put poly on it, then sanded it off, then procrastinated for a couple months, but today I decided it's going to be done.

So I put a quick coat of 50/50 beeswax and mineral oil and called it a day

14


A while back I was gifted some old classroom side tables the owner no longer needed. They came painted; I don't know what kind of paint it was, but it was entirely resistant to citristrip. After finally working that out I painstakingly sanded the paint out from every nook and crevice with a dremel until I was confident it was clean. I dried it out, sanded it, and prepared to finally finish up.

Today I stained. Coat of wood conditioner, wait around half an hour, coat of stain. Maybe 3 more hours (instructions call for minimum 2) and a second coat. I was dismayed to find that while the top veneer stained beautifully, the legs came out splotchy. It looks like there was an invisible coat of primer on there or something that prevented the stain from taking. I am confident this is not the result of poor stain application; it was apparent that it wasn't taking while I was brushing it. The band around the top also came out significantly darker than the top.

The band I know I probably can't do anything about. It's annoying but I can live with it. The legs are a different story. Is there anything I can do to make them take the stain more evenly?

P.S. I also had an entirely different table made of some kind of hardwood that I did. It took very evenly but didn't color much even with two coats. I know with hardwoods that's somewhat inevitable. Any tricks to make it take more, or do I just need to be happy with it?

15
 
 
16
 
 
17


No trees were harmed in the making of this video (they were all felled in a big windstorm).

18


Used up a perfect piece of scrap, too. Now I'll have to make a glueup for the body of the righty version.
I'm going to leave the lefty 90% finished and do the final 10% if I ever find a need for it.

A partially finished rabbet plane body sitting on a bench
19


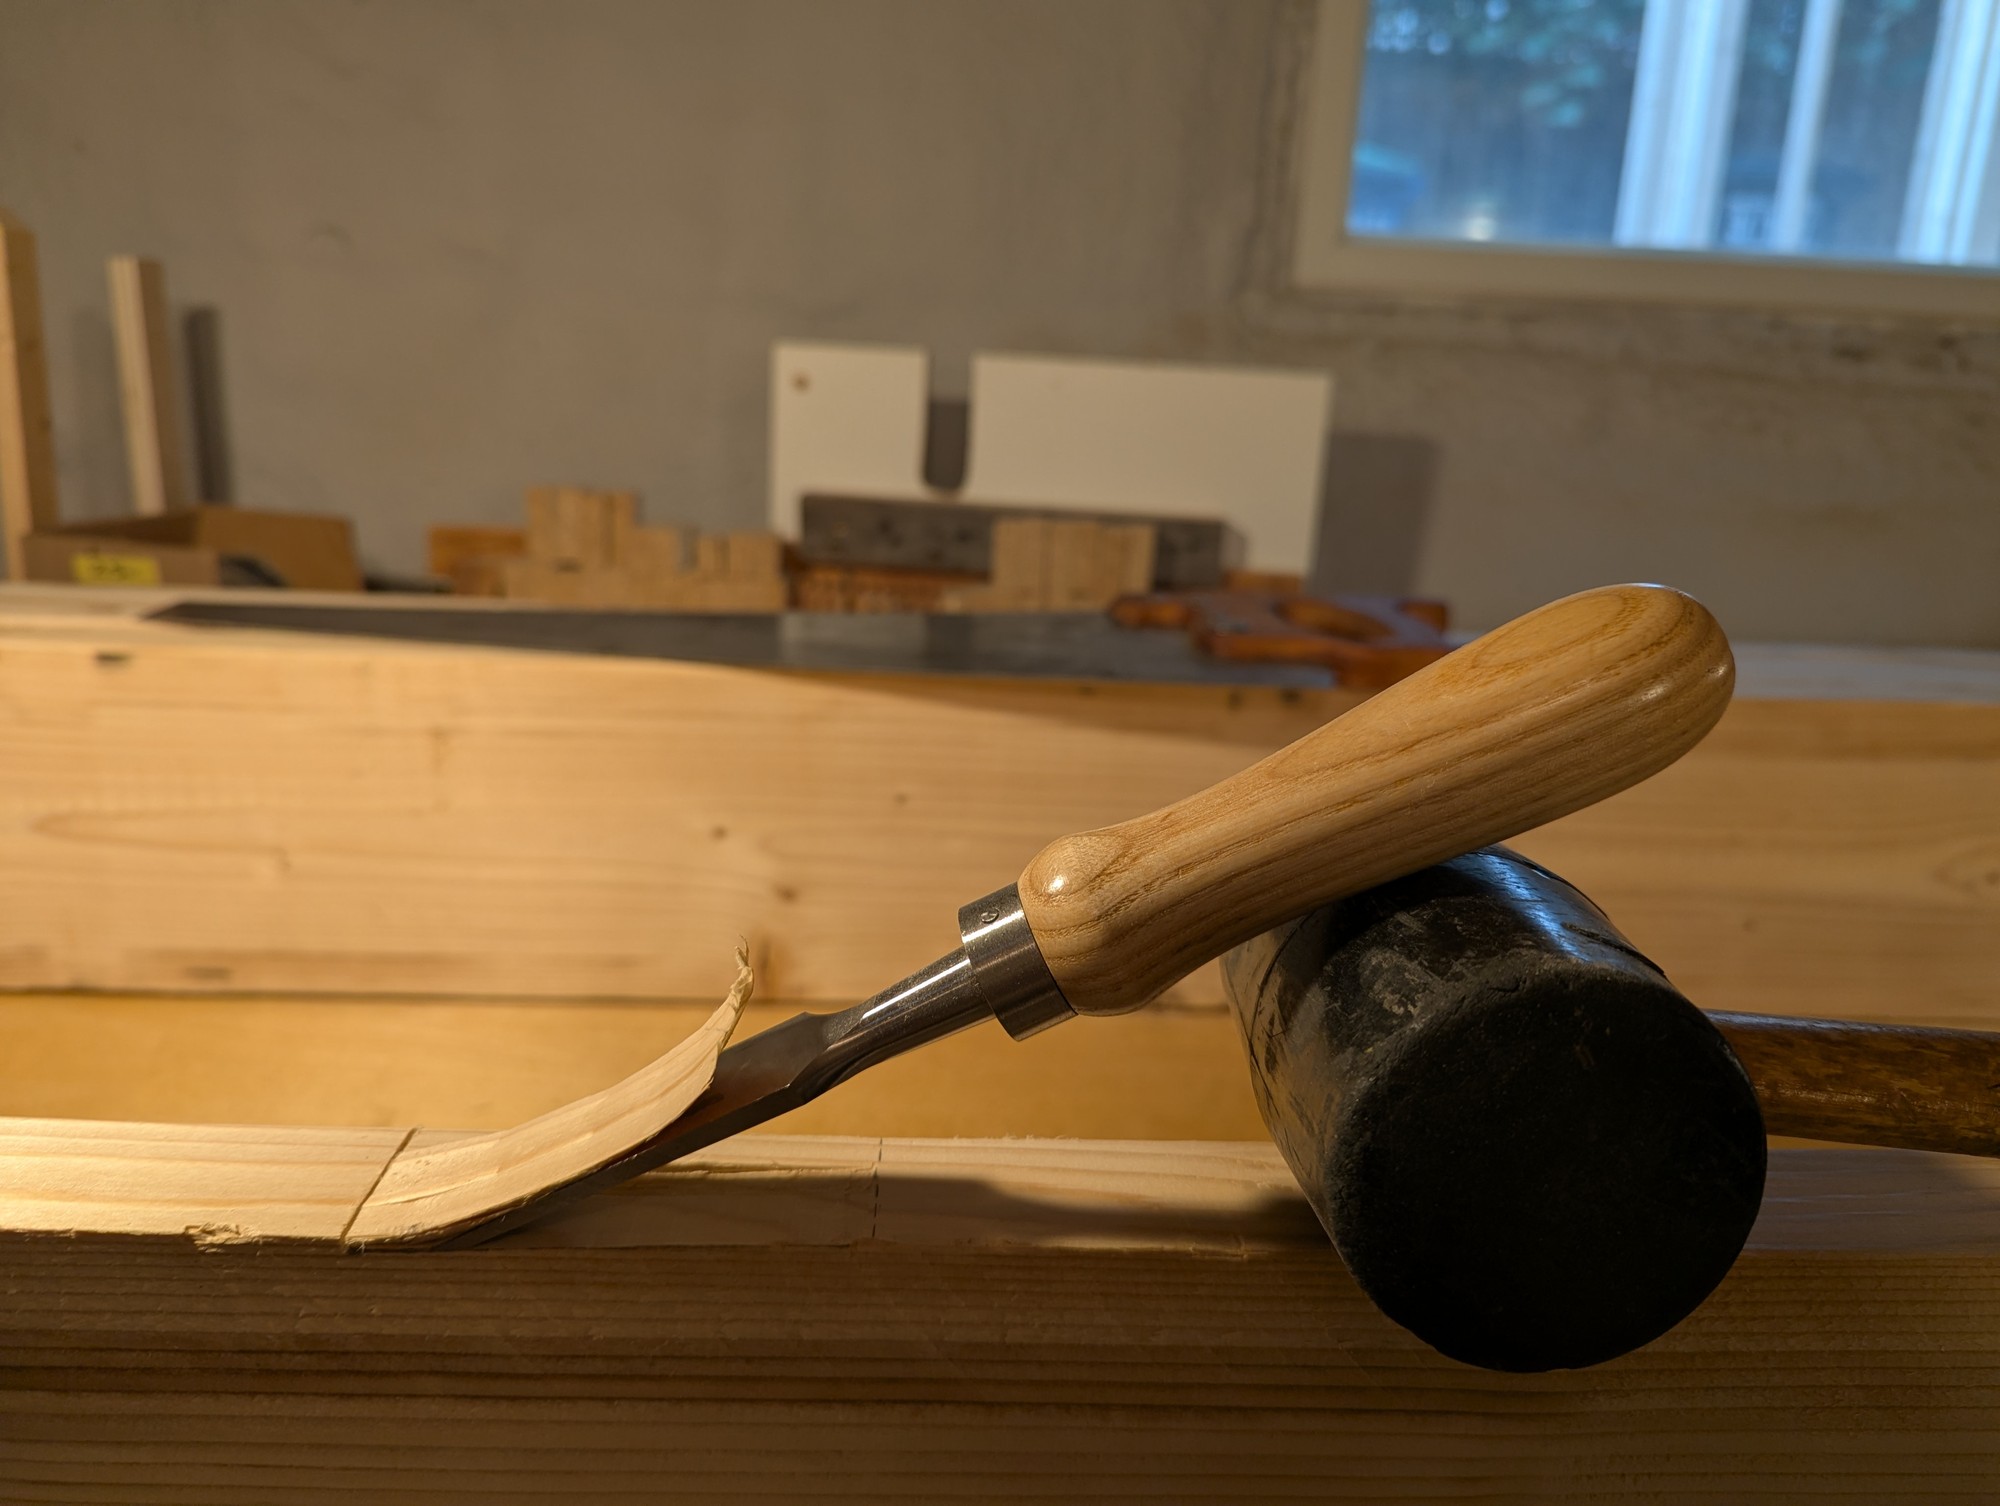
Probably not really necessary given how shallow it is, but I had fun hand chiseling a very slight birdsmouth for some shed rafters. After some practice (and sharpening), I could get most of the material in one cut. Demos I saw all used a circular saw, so thought I'd share something different.

Cutting a 1/4" in 12" birdsmouth
20


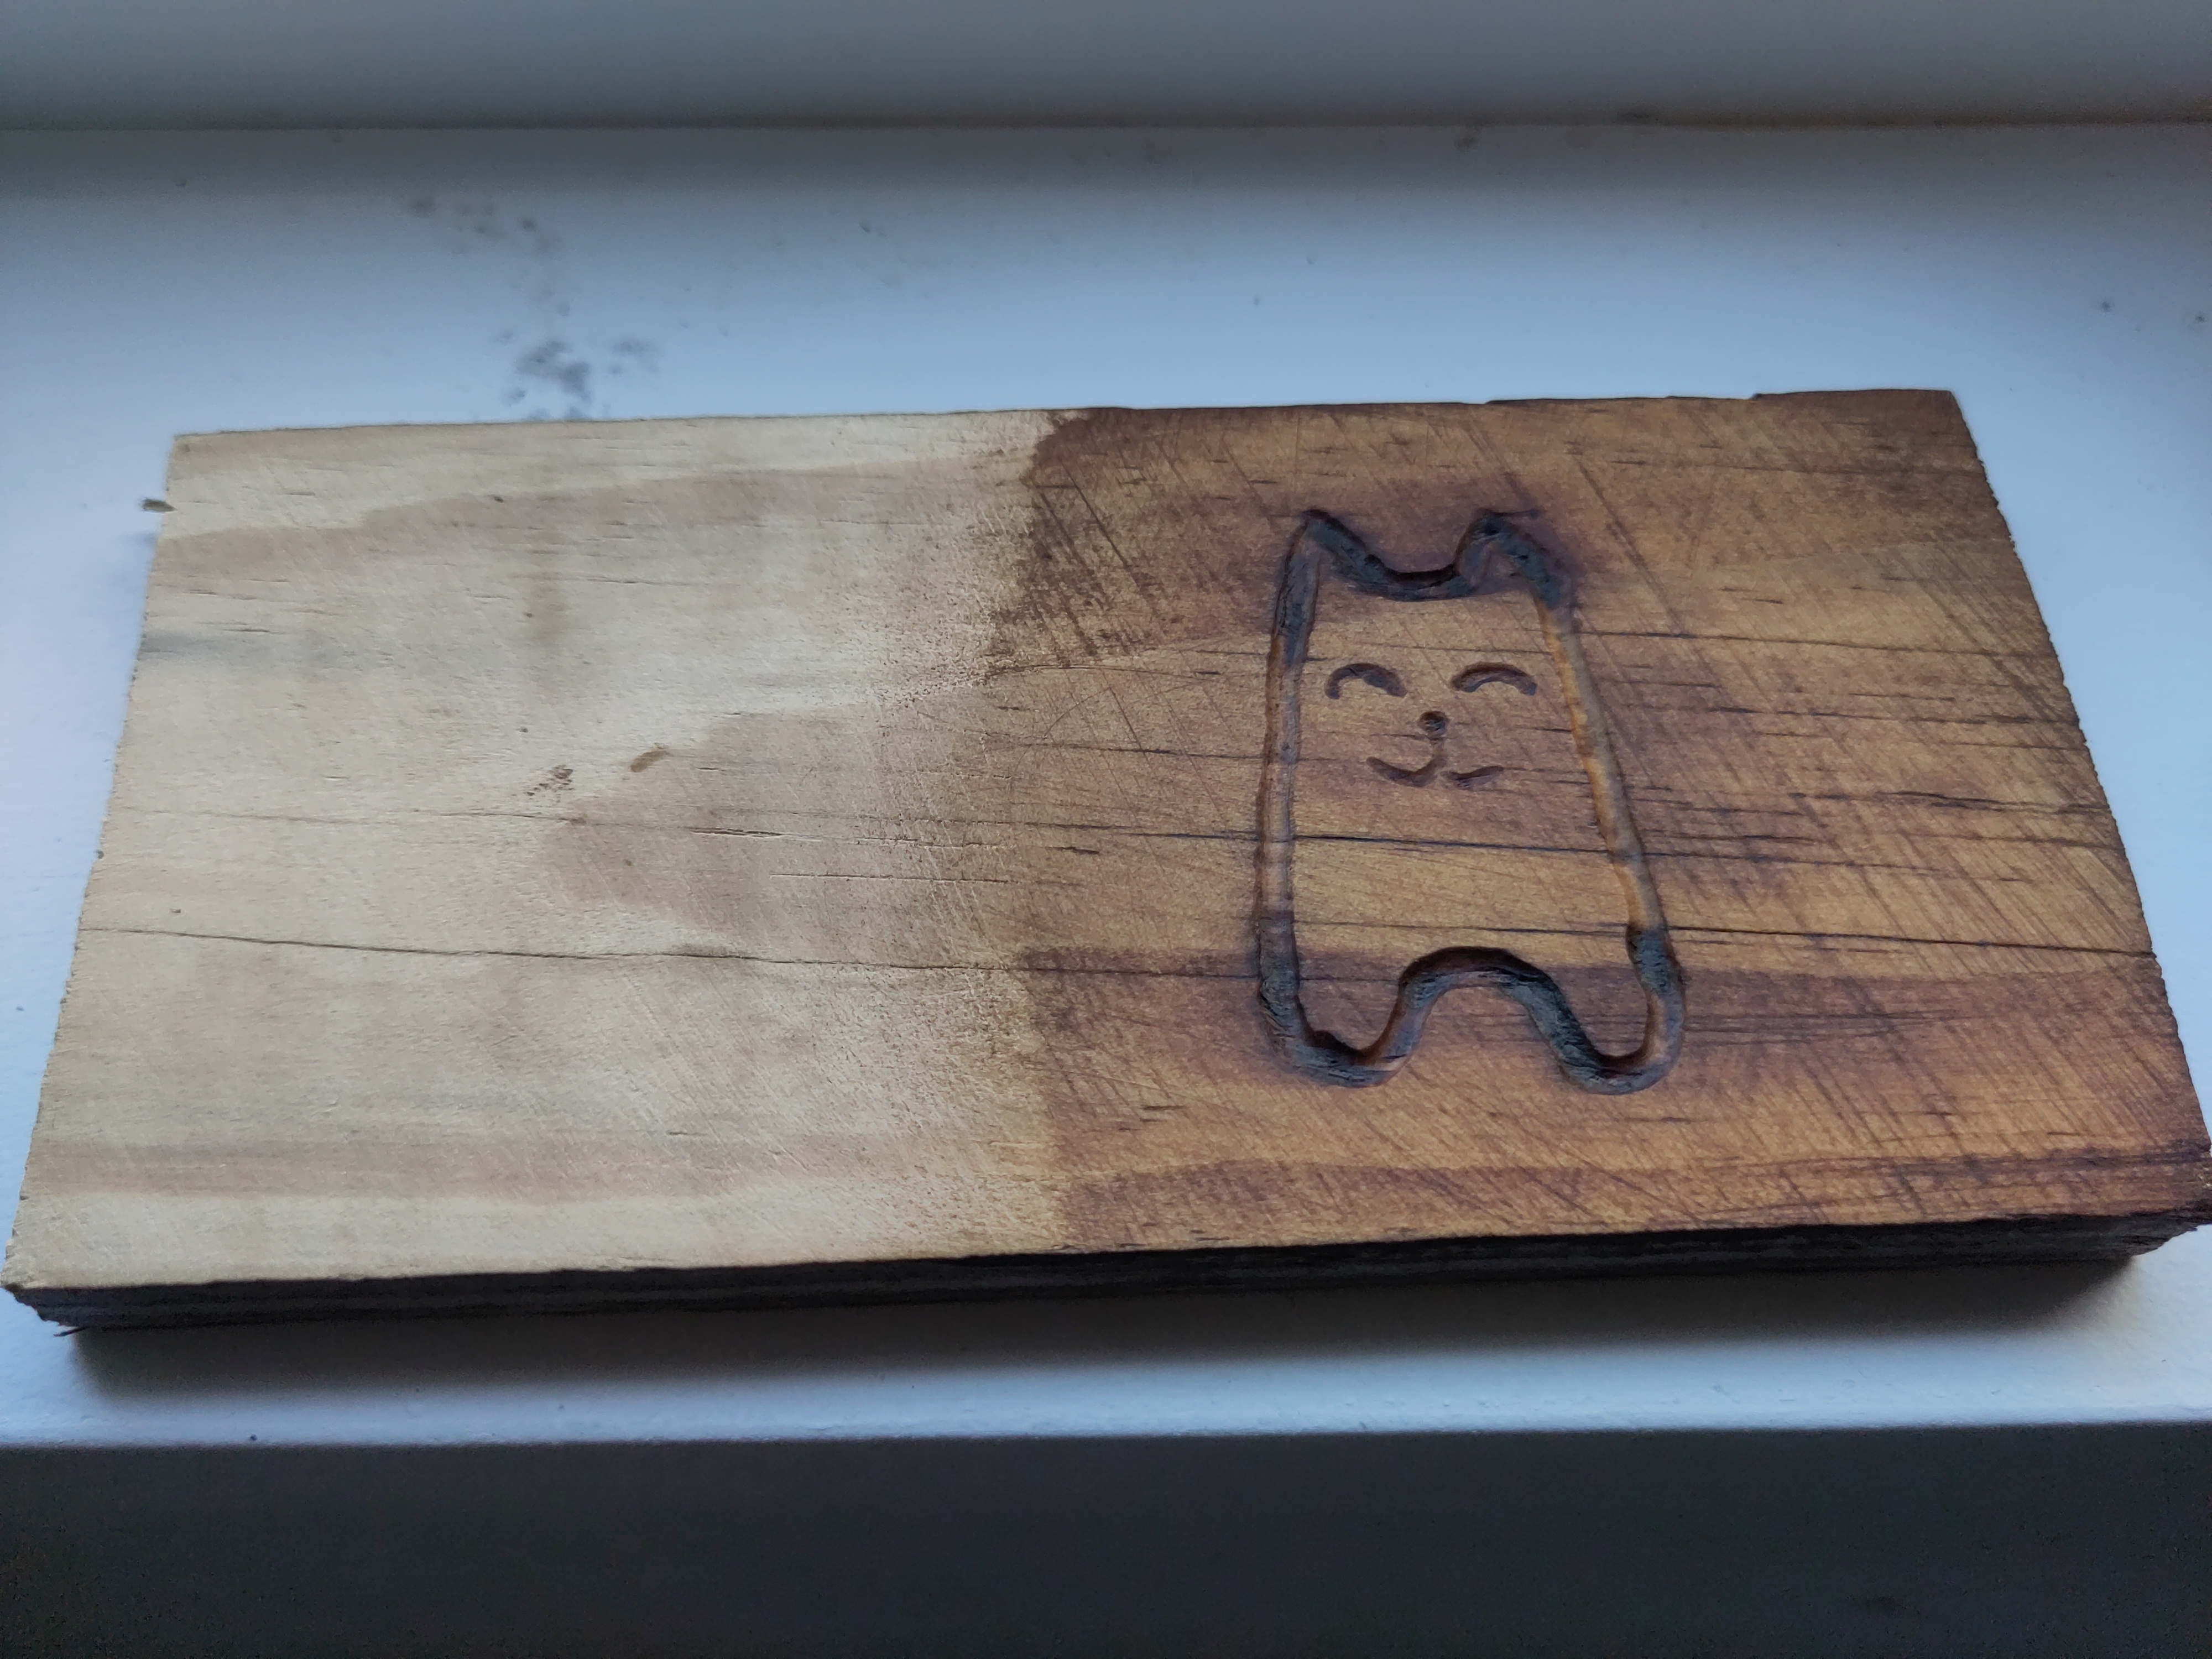
Made a few line carvings similar to my previous post and trying to work out how to finish them. So far experimenting with Danish oil and Tudor oak coloured briwax. I also probably need to get some finer grit sandpaper at some point.

Carve straight into old wood, the carved lines are pale compared to the surrounding weathered wood. The lines are distinctive and easy to see.

Same as above followed by sanding and oiling, the lined are far less visible in comparison. Adding the wax and it might be a slight improvement but still not as clear as it was initially.

Attached image - Quick test this morning, sanding the wood then carving and applying wax, no oil. Some patches have held the wax/dark colouring better than others after wiping it down.

I am considering next trying to sand and oil the wood, then carve it and then wax it. Maybe a very gentle sanding before waxing if necessary but trying to keep most of the oil layer.

Trying to get the carved groves to be darker than the surrounding surface wood. Only got a few more bits of flat wood that don't have nails or staples in them, or too many cracks and splits.

21


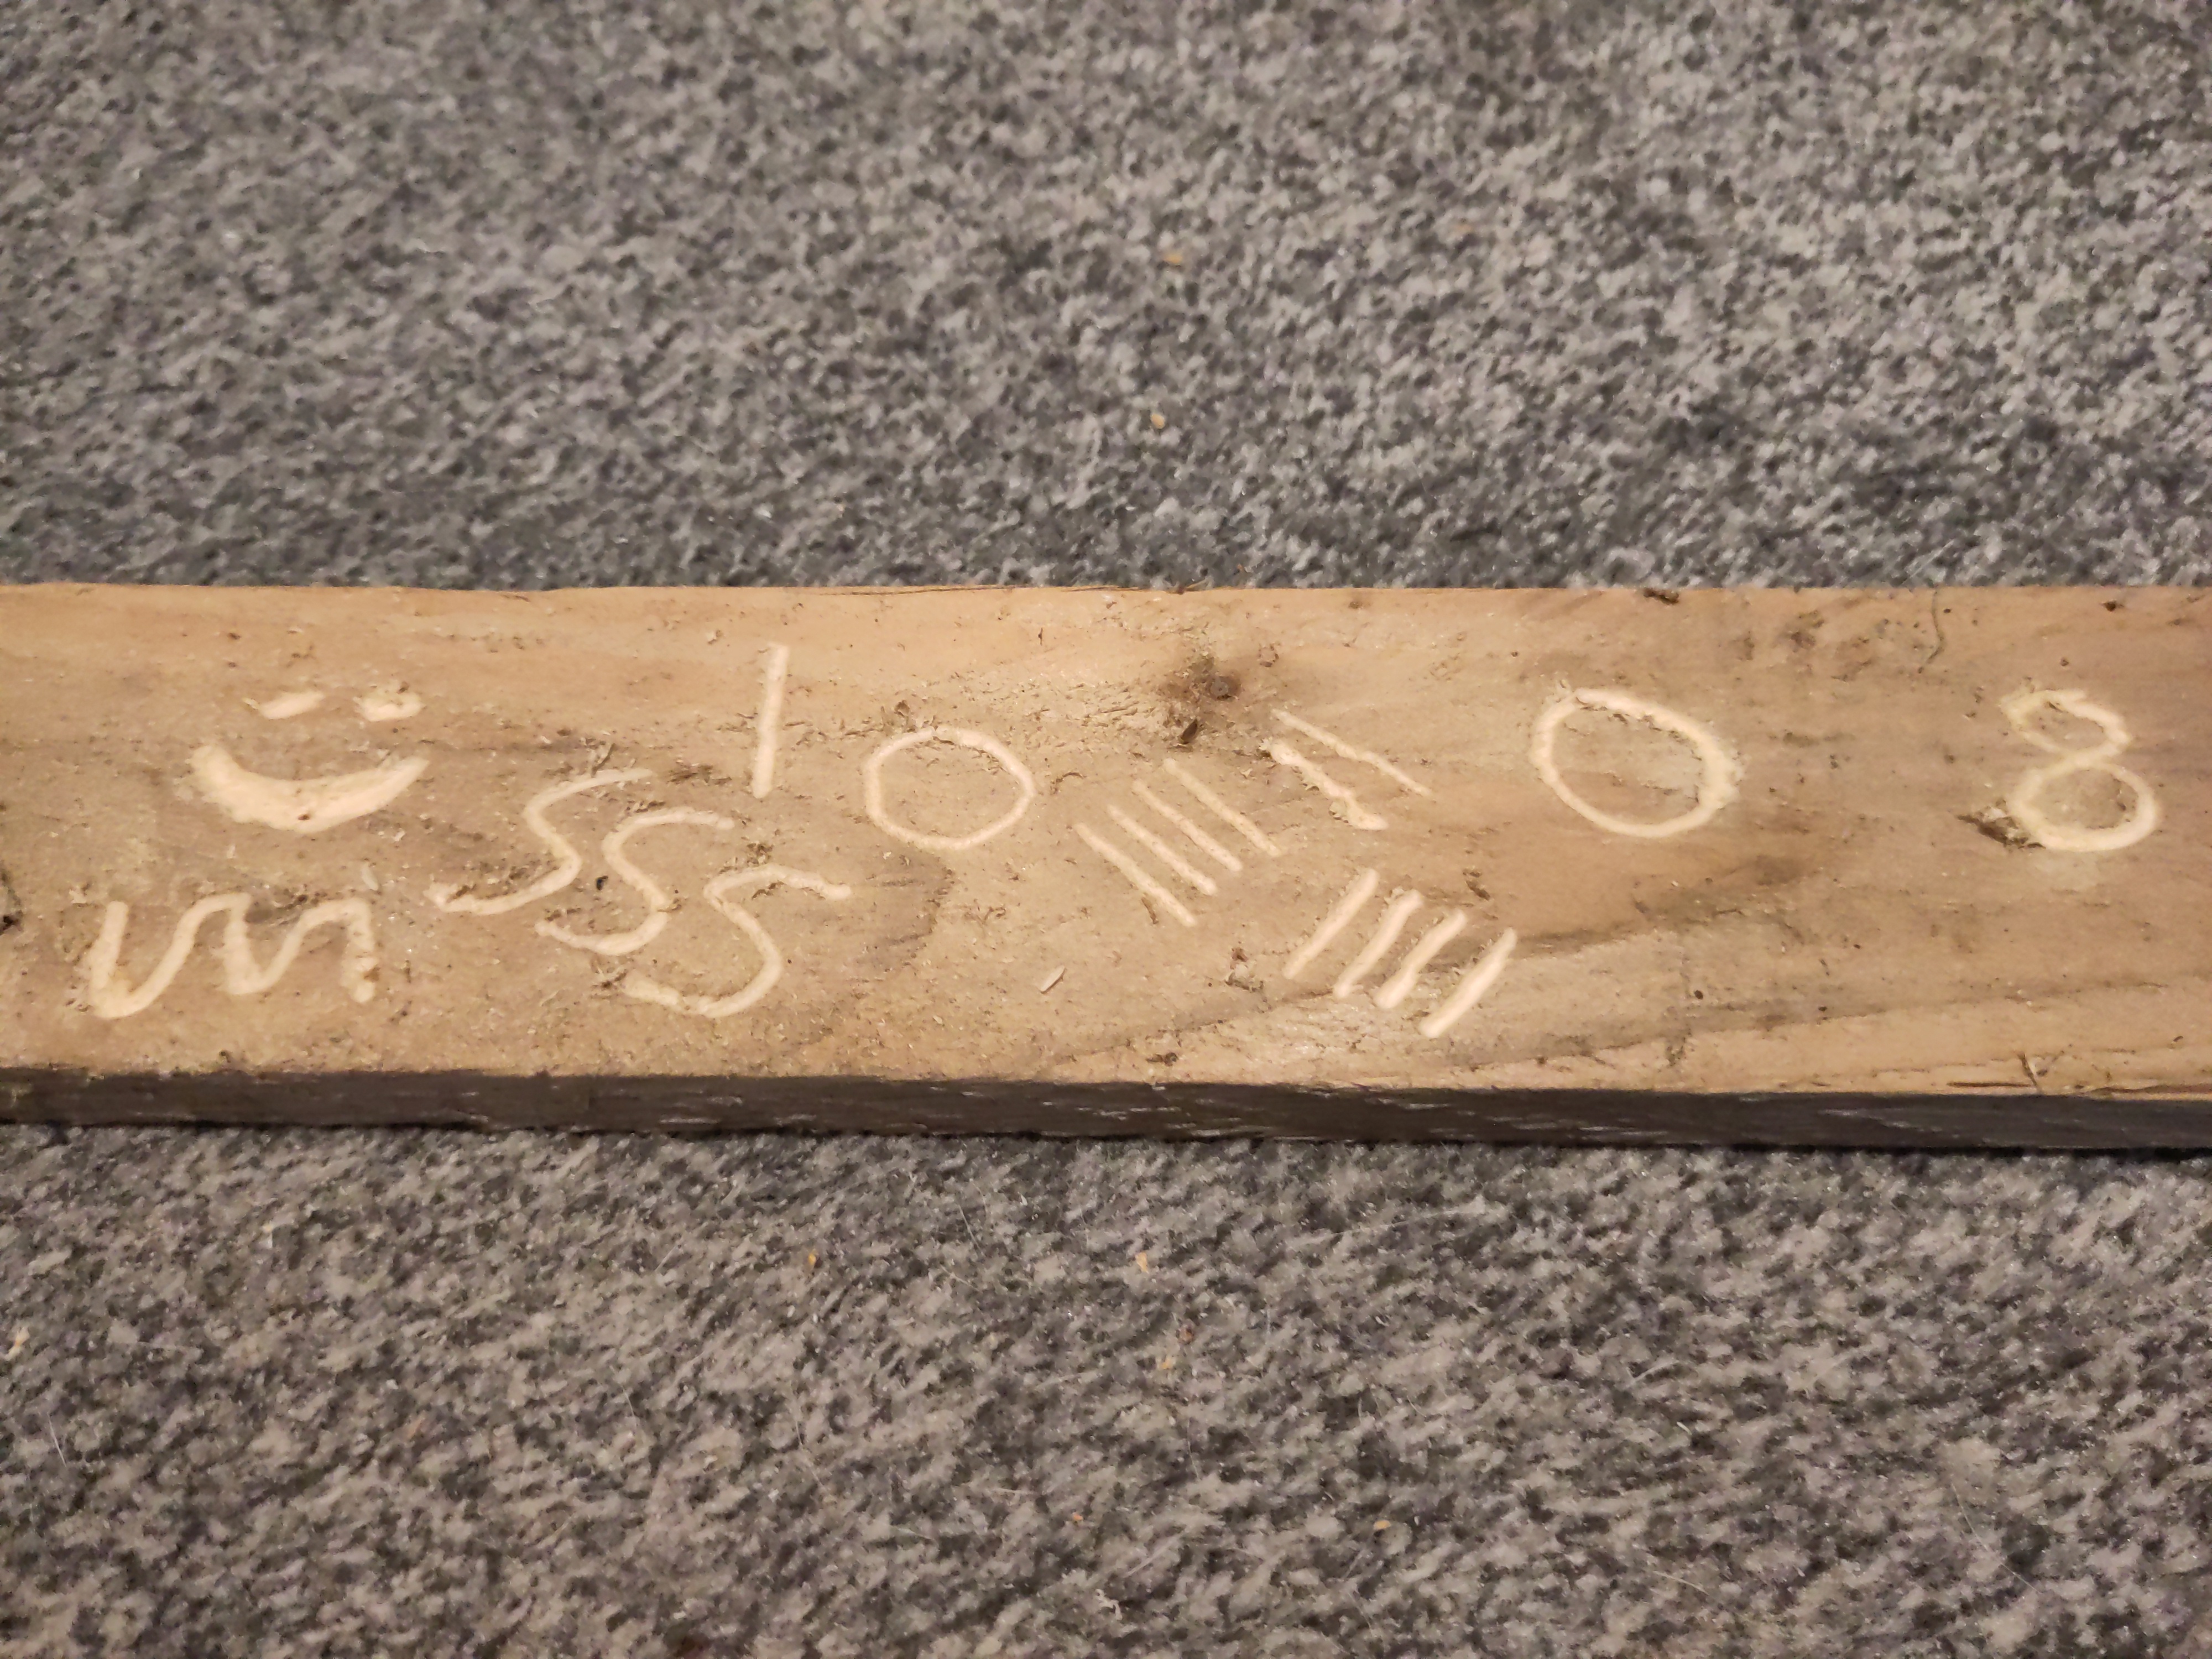
Just got a dremel for an unrelated job and thought I should do something fun with it. Got a large bundle of cheap off brand bits as I don't really know which ones are going to be most useful.

Using a scrap offcut of wood, there are still some rusty nails in it! This morning I wanted to practice carving straight and curved lines in the wood. It isn't quite as easy as I thought, the wood grain changes the amount of resistance to movement and can push it to the side or slow down how fast its cutting.

The board is about 1.5cm thick, I also tried using one of the cutting discs, it seemed to cut alright but broke in half when I turned the dremel off. Got over 100 of them though. This board might be a little thick to use with these small cutting discs, pretty sure I would need the larger ones but I don't see any in the set I bought.

Once I feel more confident in holding the dremel steady I would like to try making something decorative. Probably start with a coaster as that is something small to get started with. Then look at oils for it too. Leaning towards plywood as it is more affordable, although this scrap wood is free and hasn't rotten too much yet. Might be worth sanding it to see what it feels like.

22
Now we wait (lemmy.world)


I oiled it up according to the instructions, unfortunately it takes a month to cure.

I'm planning on putting polyurethane or some other film finish on top because the oil is quite dull as is. Maybe I'll try burnishing it. I dunno.

23


Imperfections were all made with hand tools except for the sanding

24


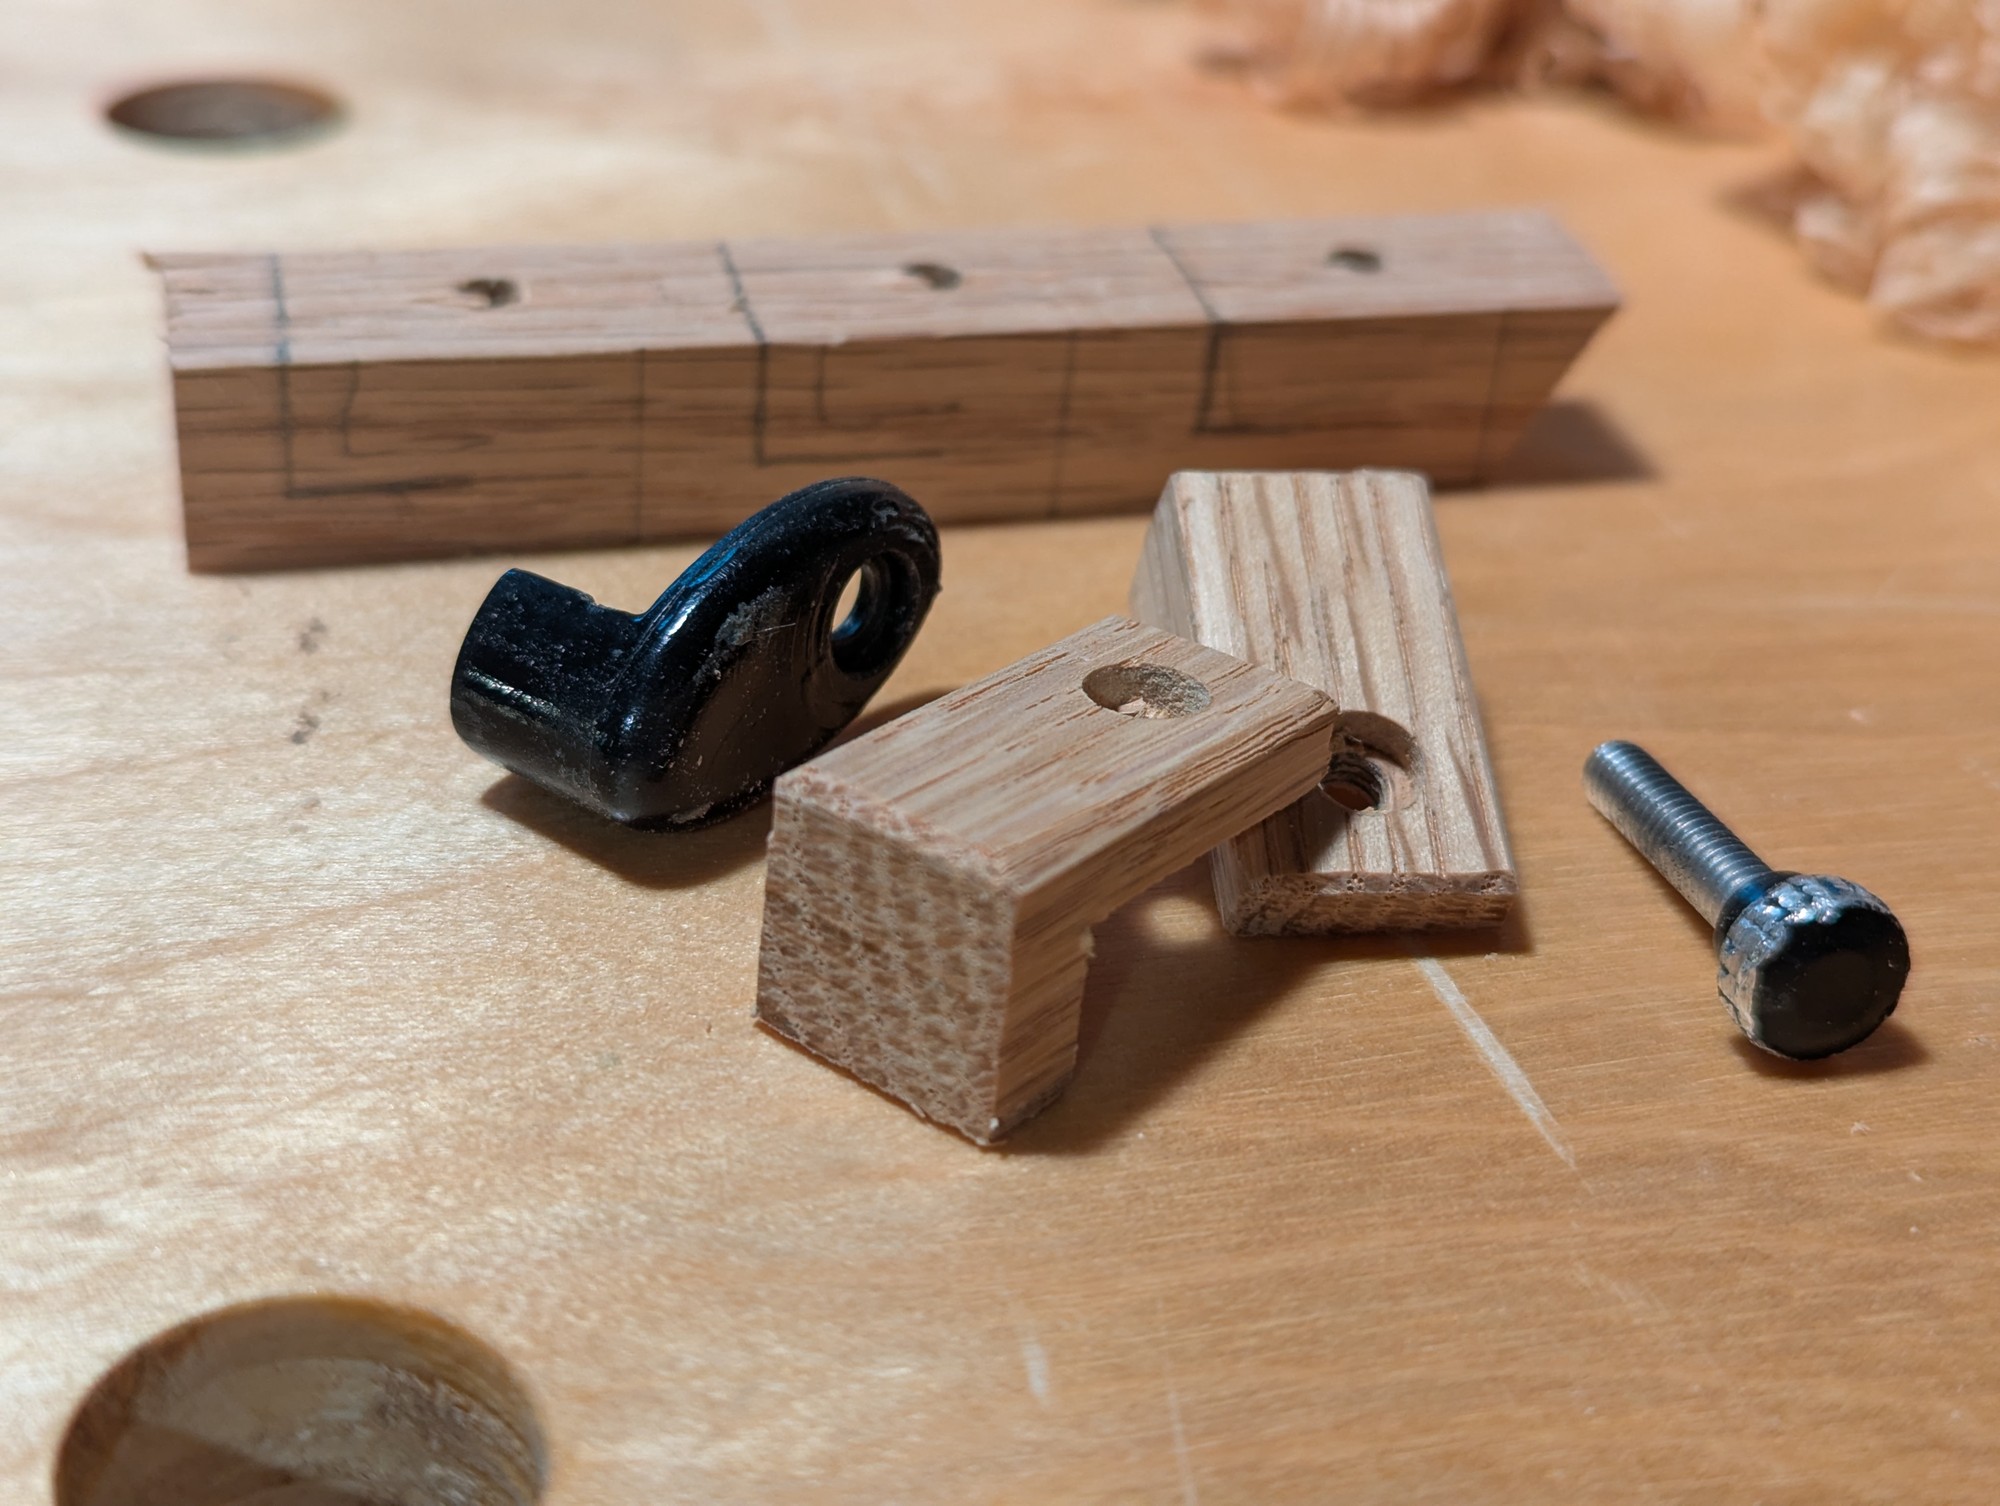
Made using some oak scrap.

hand tools

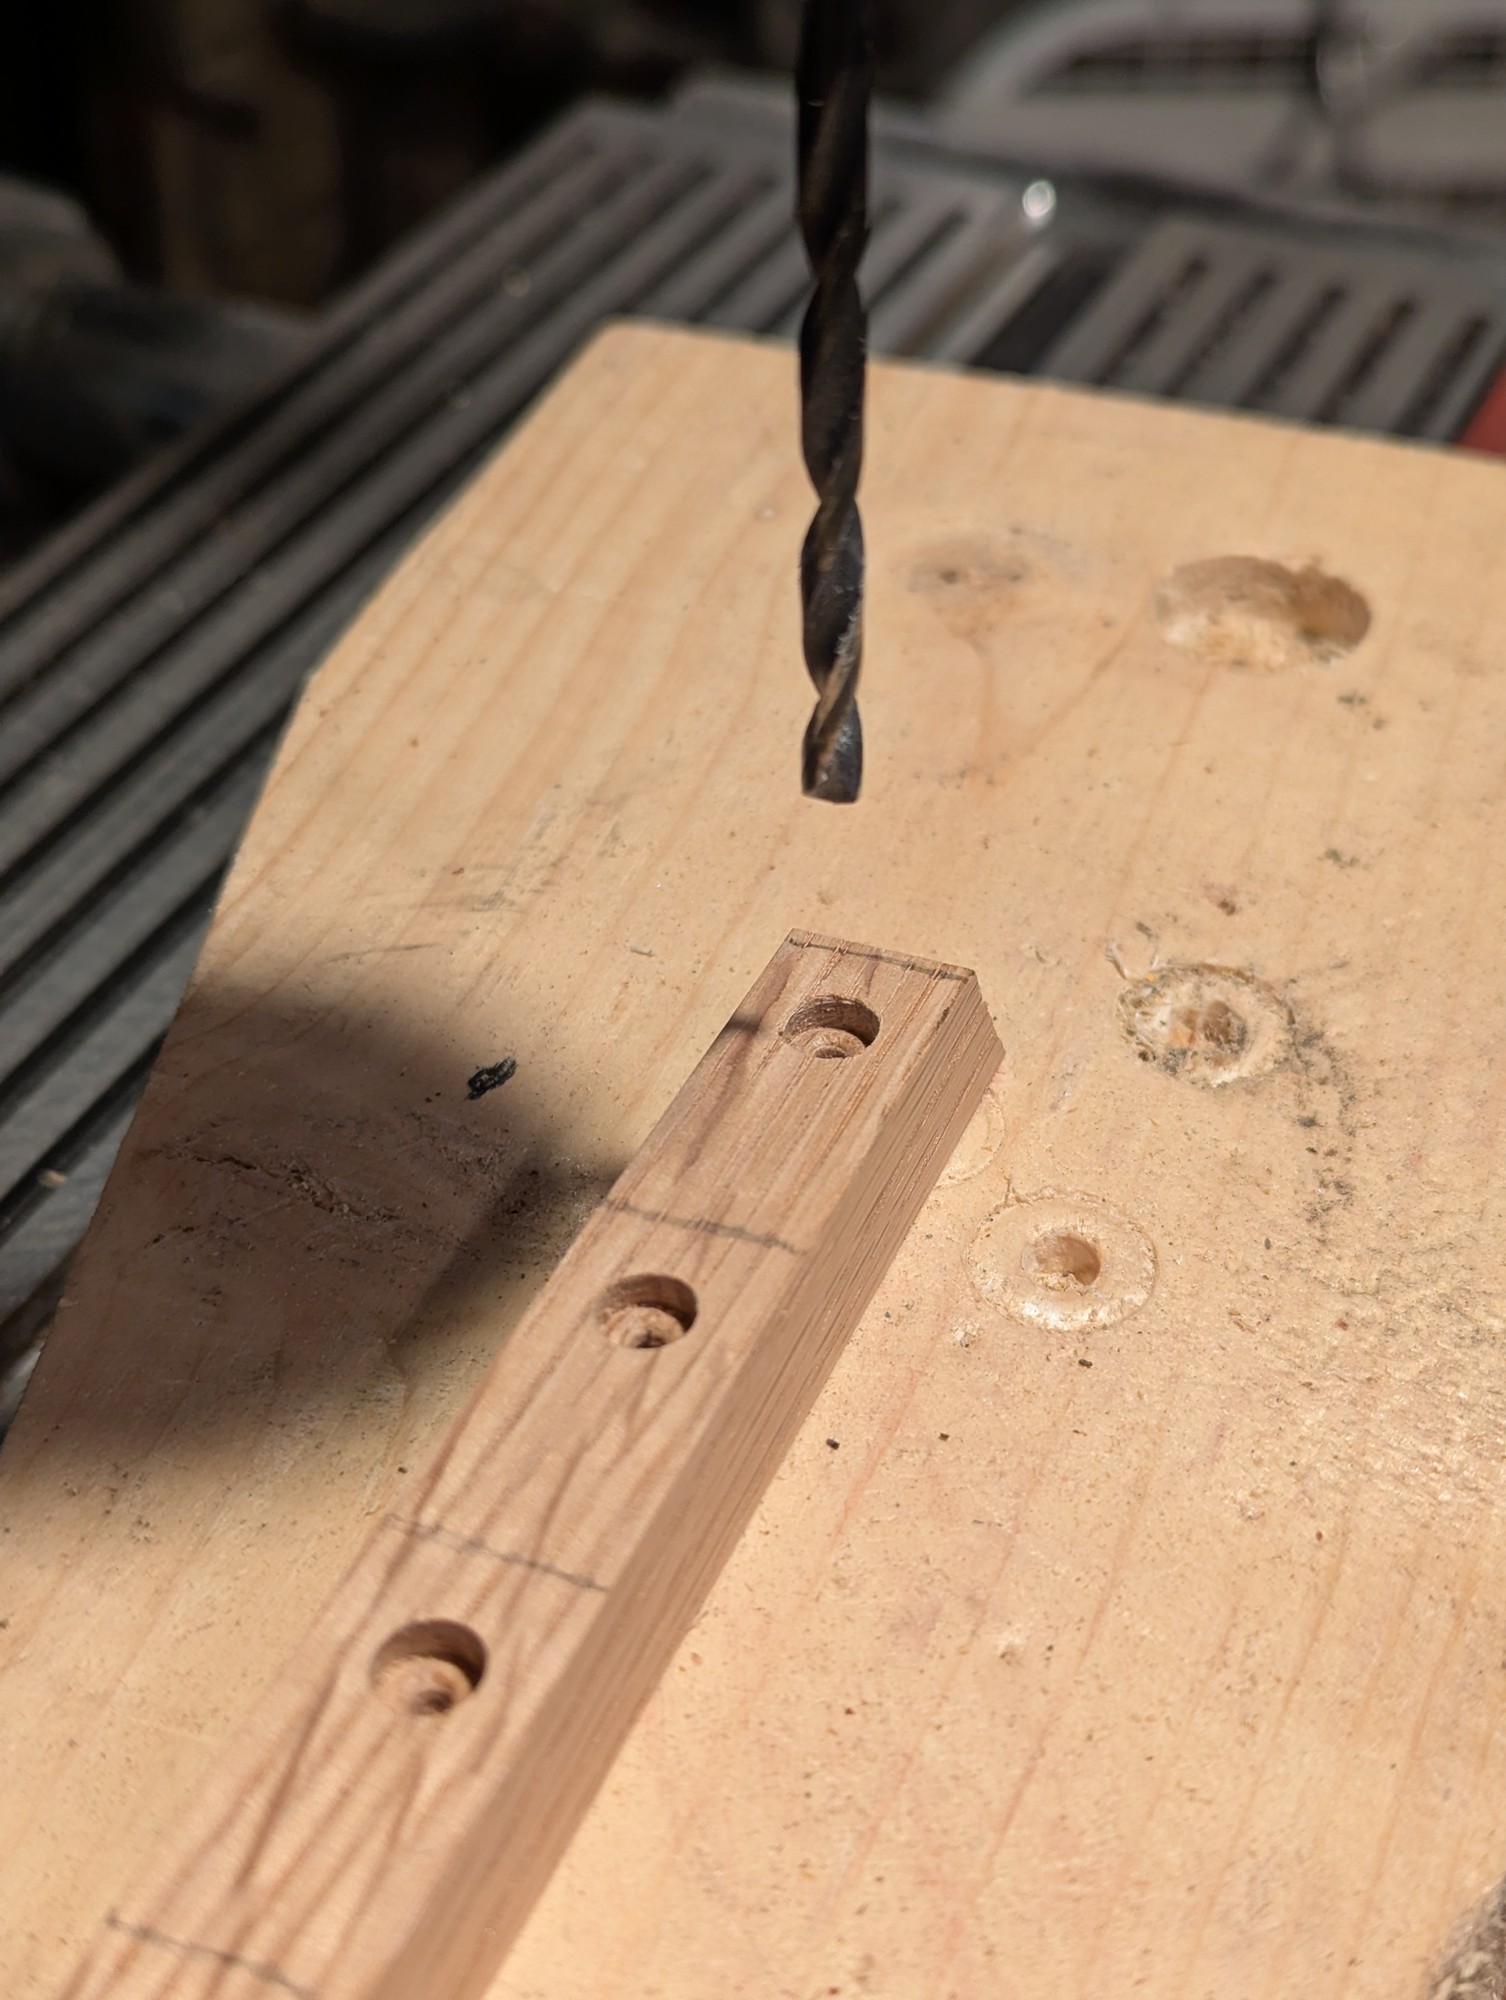
Hand tools for most of it. Drill press was useful to get the depth of the counter sink for the screws' shoulders.

drill press

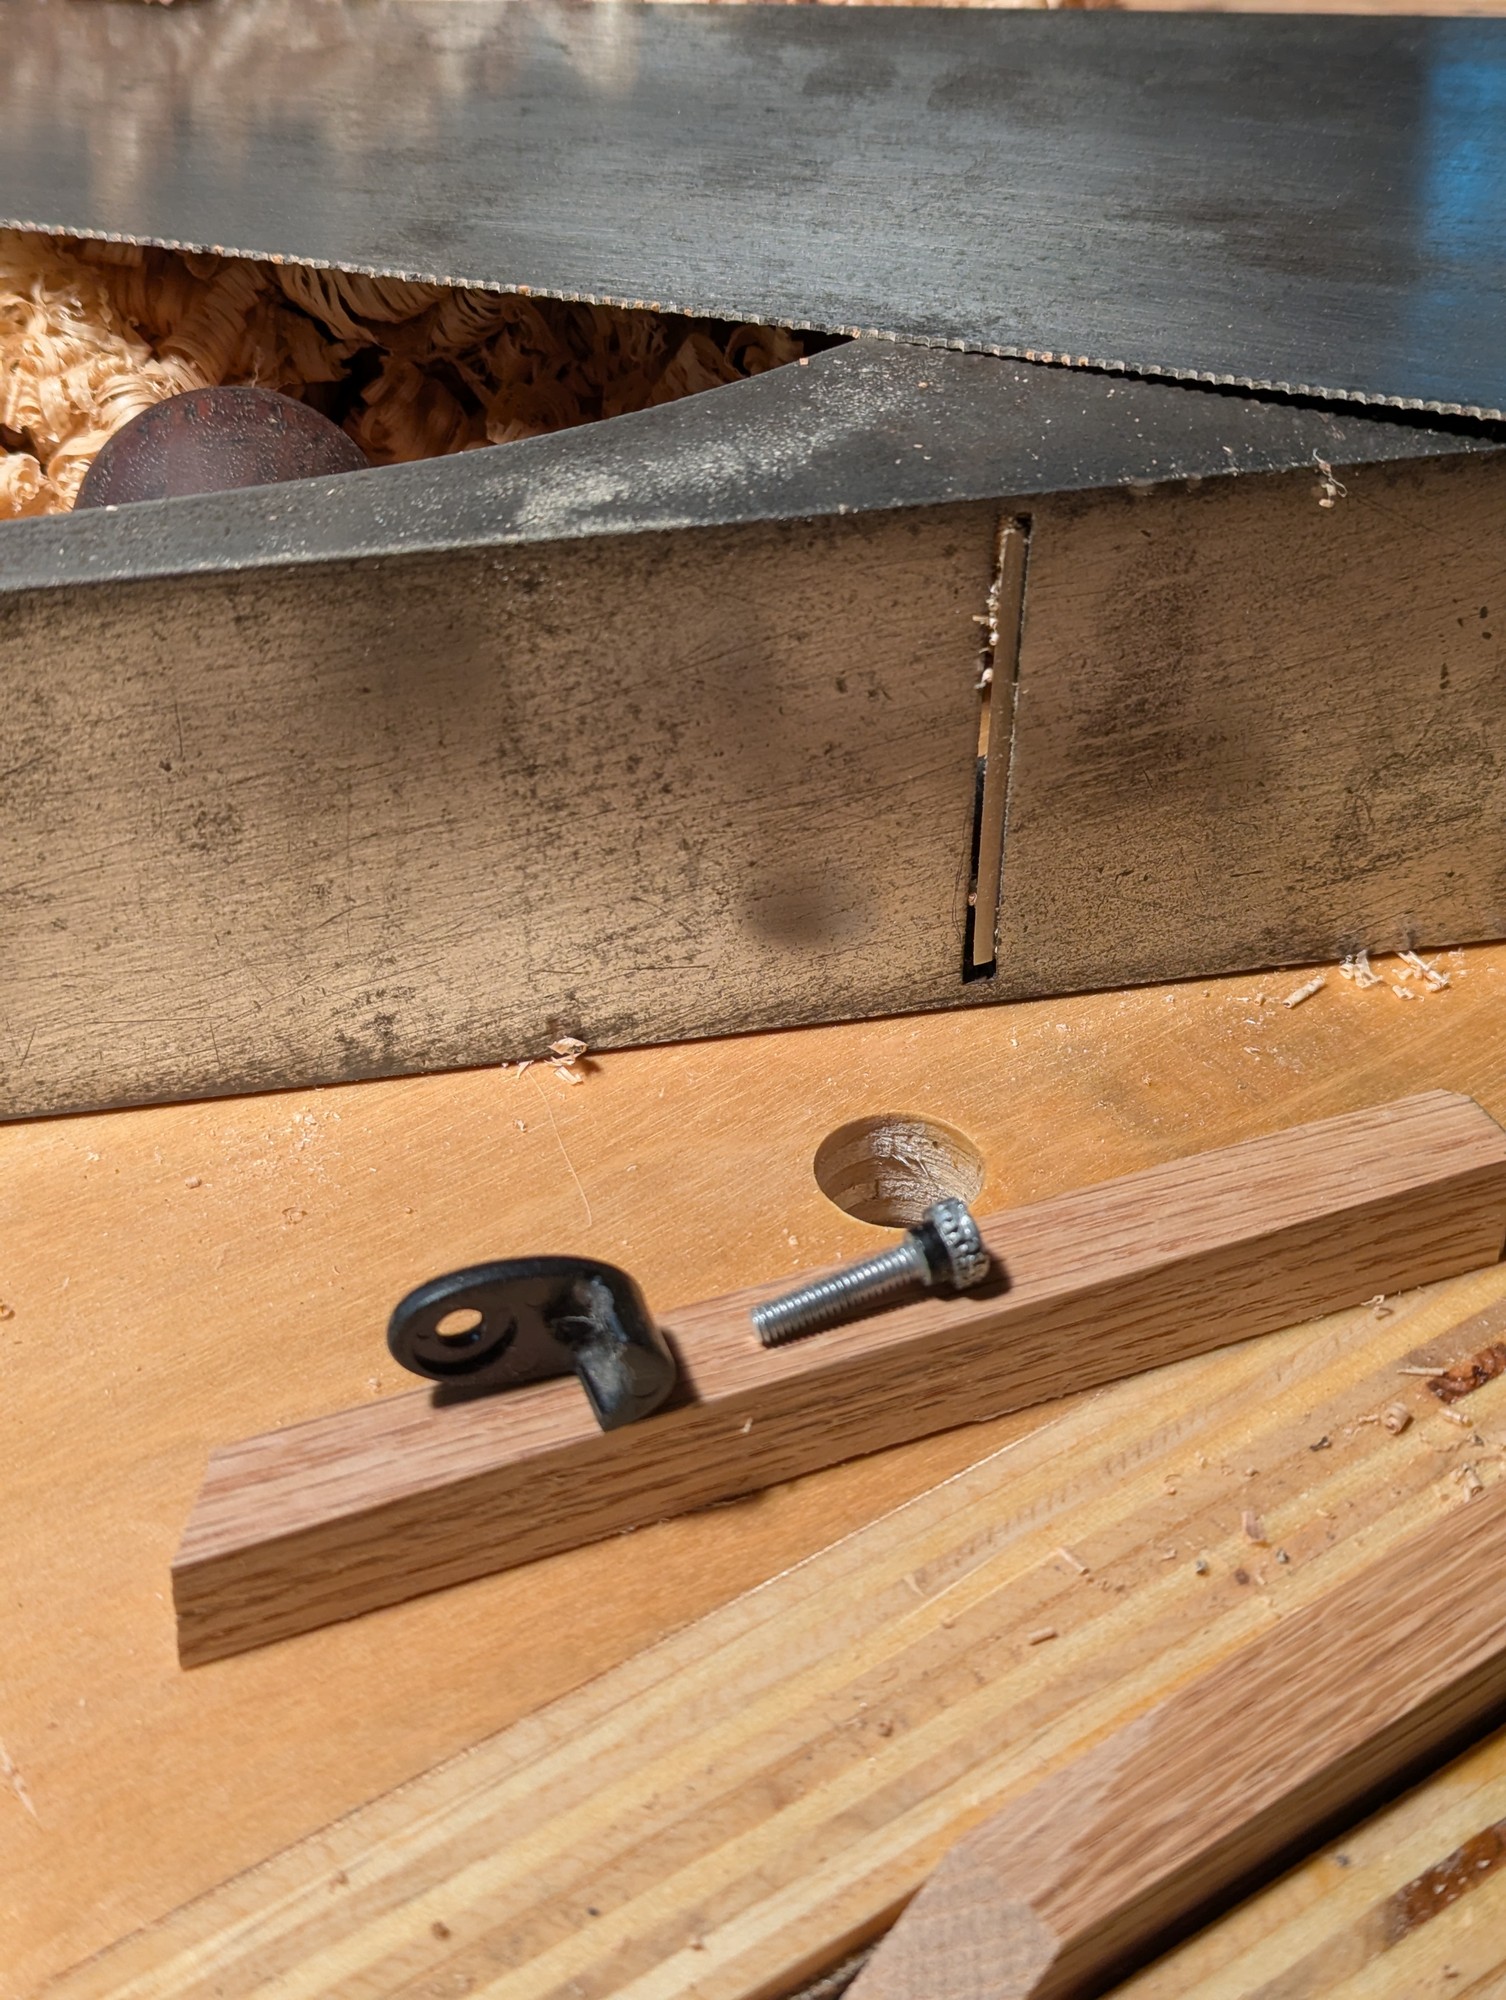
Replacement retaining clip for our screen door
25
spoons (lemmy.world)
submitted 2 months ago by to c/woodworking@lemmy.ca


The ones with the grain going the wrong way are cutting board cut offs. Pretty wood, why waste. More than likely just decorative. The standing one was a gift to the guy making the cutting boards.

view more: next ›