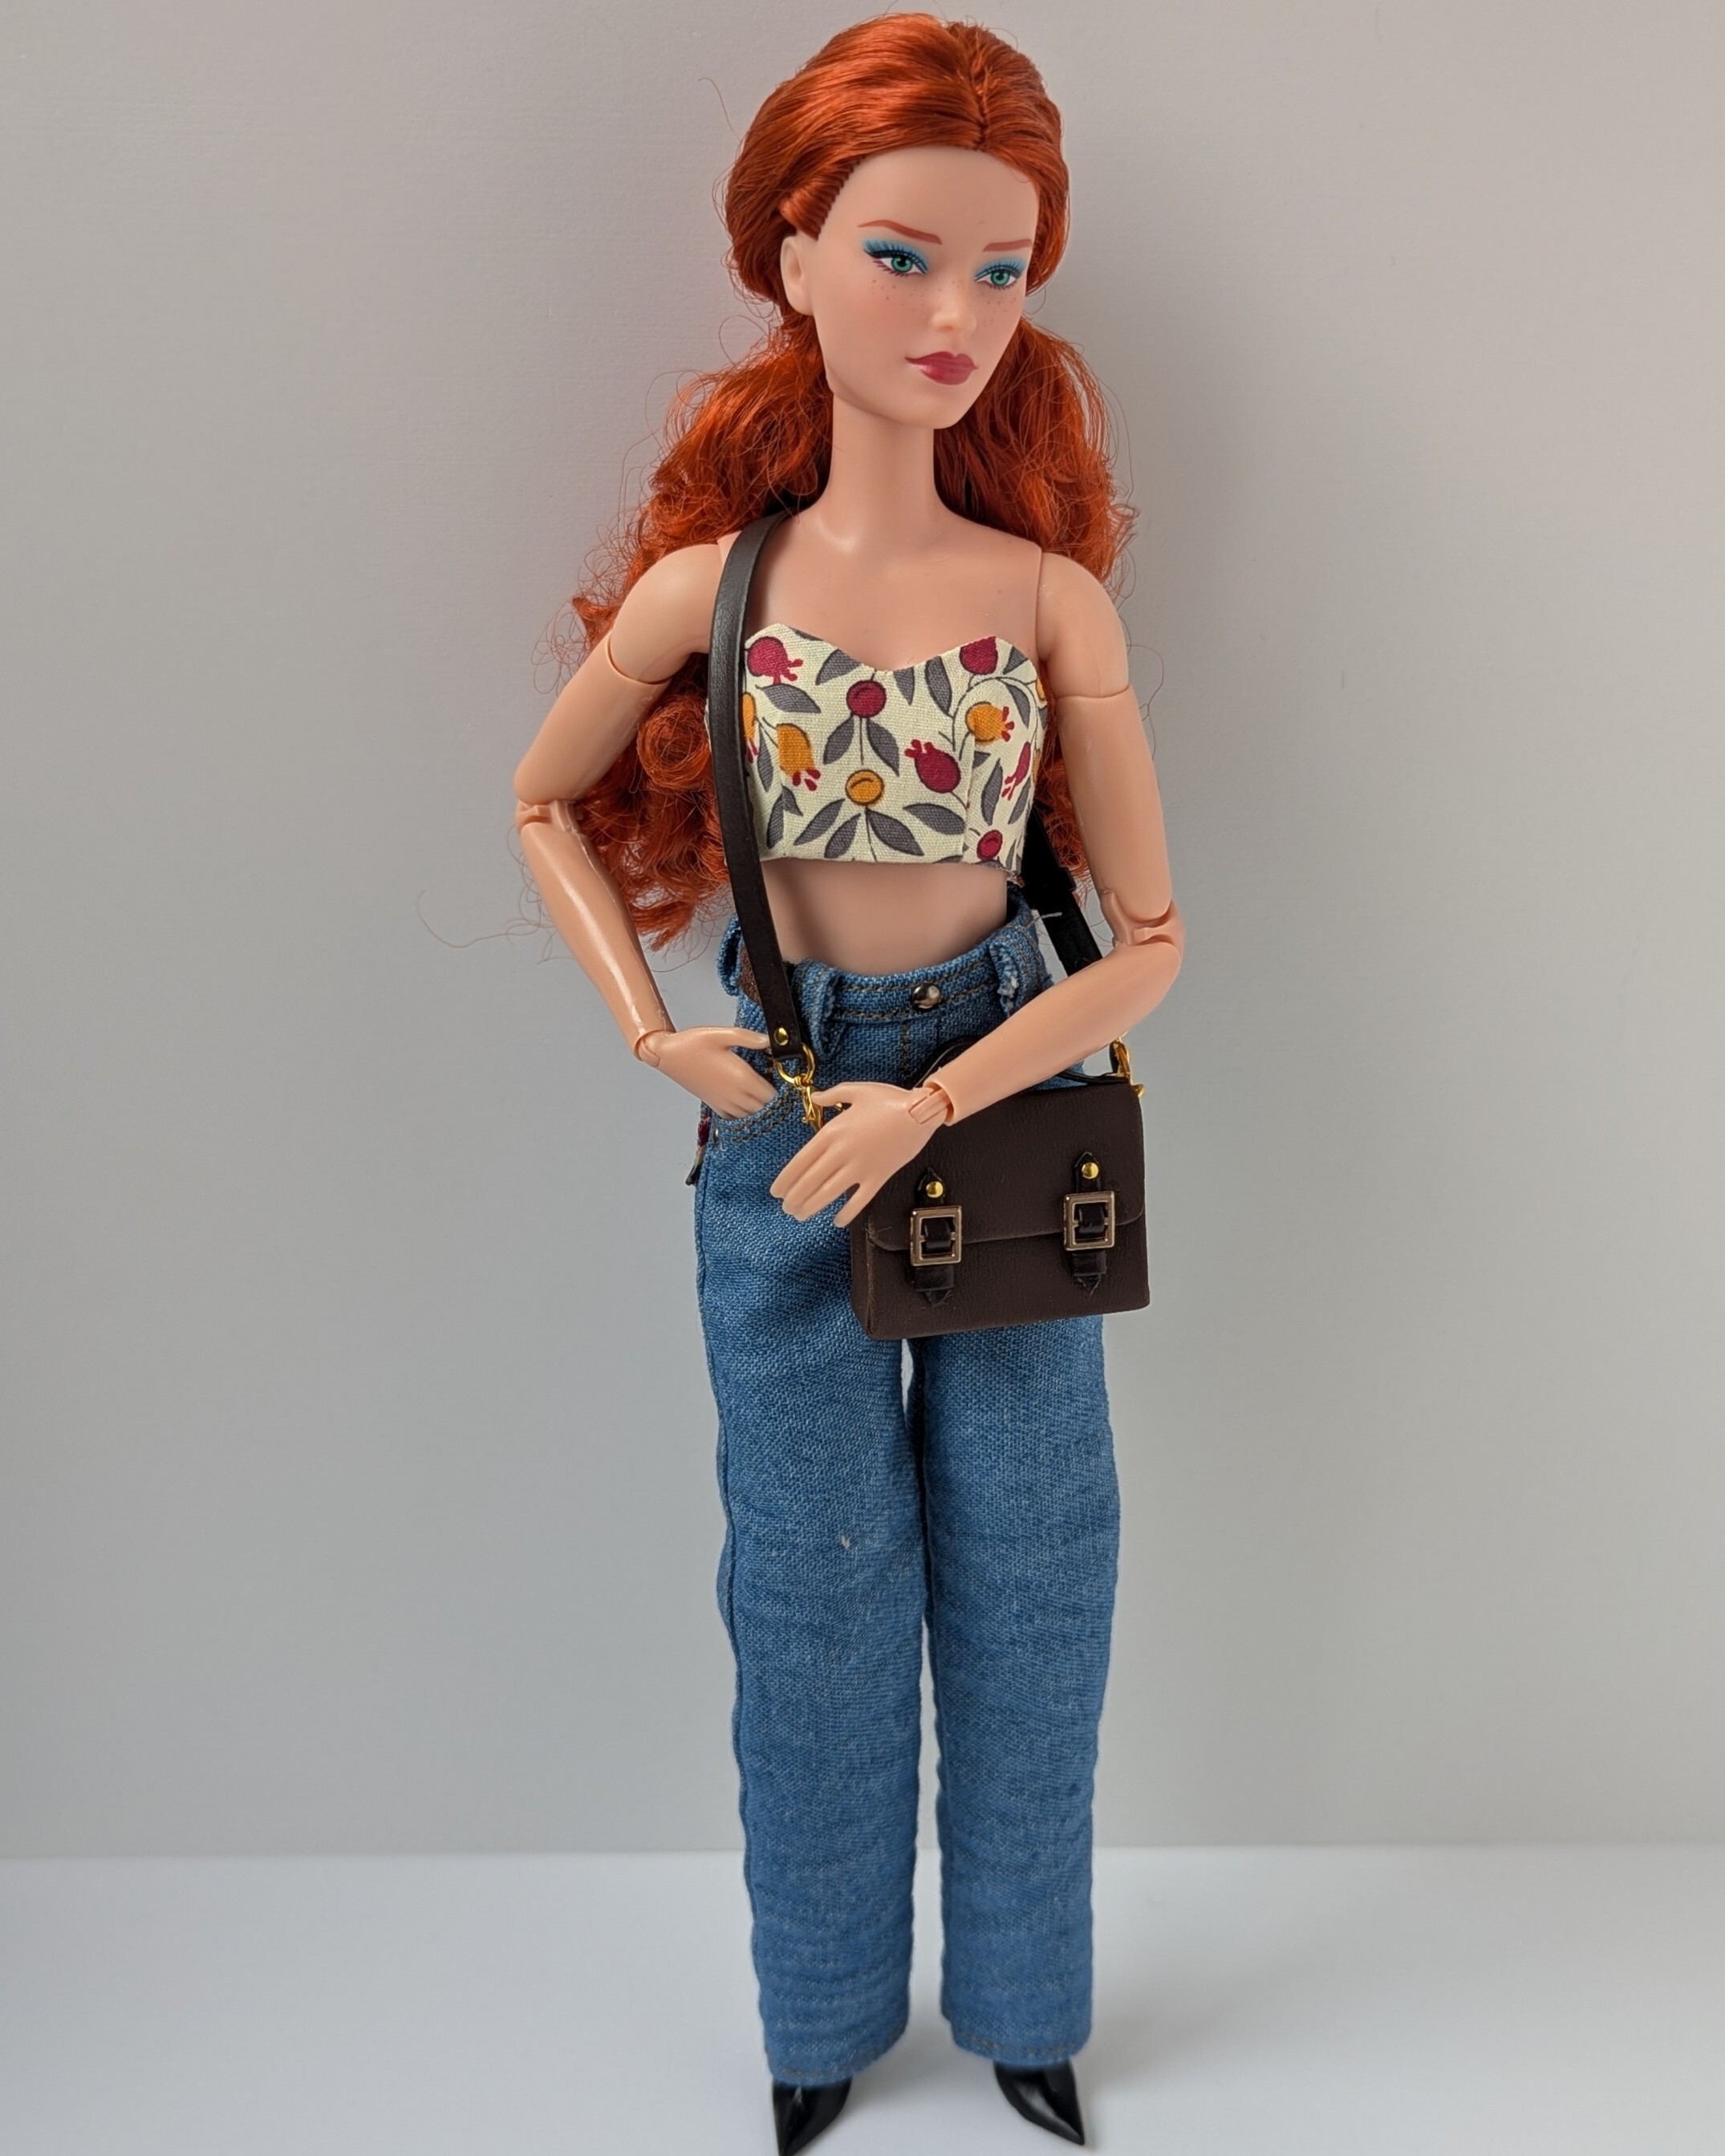
I finished sewing my first dress for Barbie. Before this, my sewing experience - especially with a sewing machine - was pretty limited, so this feels like a real victory for me.
I used a ready-made pattern from Etsy. For marking the light-colored lining fabric, I used a washable marker, and for the dark fabric - a white pen.

I thought a dress like this would be simple to make. I was wrong. In reality, I had to unpick the seams and redo the stitching many times. The pattern has very difficult curved seams. I could have sewn it by hand quite easily, but doing it on a sewing machine was quite a challenge. It took a lot of time, but eventually I managed to sew all the dress pieces and all the lining pieces together.

After that, only the final steps remained: sewing on the placket for the snaps, sewing everything together, turning it inside out, closing the opening, and attaching the layers at the bottom of the dress. The last two steps were done by hand, which I was very happy about! My first complex sewing project is finished, and I'm really happy with it.

I used two types of snaps: metal (5 mm) in places where the snaps needed stronger support, and plastic (4 mm) where the stress is minimal.

You can see in the photos that the metal snaps stick out quite a lot and create an unattractive gap between the fabric layers. If I had used only plastic snaps, it would have looked much more aesthetically pleasing, but they would have broken frequently and I would have had to repair the dress. You always have to decide what matters more in a particular case: aesthetics or functionality. For this dress, I chose functionality.

Also, looking back at my mistakes, I would probably mention the thickness of the lining fabric. The pattern creator uses thin mesh, and that is definitely the right choice. But this was my first learning project, and I tried to use materials I already had.