I consistently have abysmal sleep battery consumption on my Framework 13. How can I improve this. I'm so sad my laptop is constantly out of battery whenever i grab it.
Anyone knows how to fix this? It's been a problem for the entire year I had the pc now. I've been waiting for firmware updates to hopefully fix it, but nothing has changed for the past year and i feel it's only gotten worse.

Anyone that can recommend a high quality repairable automatic soap dispensor I can use in the kitchen for dishsoap. It should be automatic such that when i put the brush or sponge under it, it gives a small dose of soap.
I have looked at the simplehuman one, but after watching a video on how to replace the battery I just cannot with good conscious buy it. It is literally designed to not be opened.
I know any pump like this will not last me a lifetime, but I want something that last for as long as possible.
As the title hints, it should be available in EU. Any recommendations i can find online and on reddit are all just useless amazon products and listings of all amazon products. It must be possible to find something better and in EU.
Looking forward to hear if anyone knows about a good product.
Hi everyone. Sorry for a long post, but I'm looking for various input related to buying a camera, so feel free to just comment on any small bit of it if you feel like it. I don't expect answers to it all, but I'm just so exited to get back into photography after a long break.
The trigger for reviving my passion is that I'm planning a trip to Tokyo this fall 2026. I want to buy a really good camera for the trip to capture everything and finally get back into taking good photos.
I used to own a DSLR Nikon D5200 back in 2013, but over the years I completely stopped using it because it was just too big and bulky to carry so i sold it 2 years ago after not using it for 4 years before that.
Priorities
That's why i for this trip I want something that is much more compact and cameras have come a long way since 2013. My absolute top priority is size. If the camera isn't small and easy to carry, I know that I just simply won't use it enough. Ideally it should almost as easy to bring as my phone.
My next few priorities after size are as follows.
- Interchangeable lenses
- Excellent video capabilities
- Good low light performance
- 20-55 mm ish standard lens option to get started
- Everything else just needs to be reasonably well balanced
- An option for 35mm pancake lens for super compact mode. This is a nice to have addition and the price of it is on top of my budget mentioned below.
- Full frame is nice, but i also have to be realistic if i want a super compact body.
What I mean about wanting a camera that is reasonable well balanced is that most cameras are in my opinion pretty good these days so I'll listen to your recommendations to maximize a balanced performance within my budget. I was happy with the performance of my D5200 so it's a good benchmark and should be easy to beat i think.
Where to buy and budget
I consider buying a camera when i first get to Tokyo since prices seems a bit lower there but i don't know for sure yet if that is a good idea so if you have experience there I'd love to hear.
My budget is around 200,000 yen (~1100€) including a decent starter lens. Maybe a bit more if needed or for an additional lens option.
Also if anyone knows of special deals, good Japan-only bundles, or used gear markets that i should consider then I'd love to hear, but it should be pretty easy to get on the first day in Tokyo if it's not the same price here in EU anyway.
Additional info:
For the trip we currently just have our phones which are an iPhone 16 Pro and a Google Pixel 5a 5G that both take pretty decent casual photos. The camera I'm looking for doesn’t need to replace that, but needs to offer significantly better image and video quality.
I really liked the interface on my Nikon and from what I've tried so far, I’m not a big fan of Canon’s interface. No idea about olympus, panasonic etc. never tried them.
Other questions
Does anyone know if there are any language limitations in the camera firmware when buying in Japan? (e.g., Japanese-only menus) ore are there any other region-locked features or restrictions compared to EU models?
I hope to get some input to find the right camera. There are so many options and i feel like it's easy to go waaay over budget for not that much more.
... Or not... I need help with a sanity check.
Tl;dr. Yes it is expensive but is it actually a good grinder?
I'm so ready to pull the trigger for a buy once, cry once, purchase decision for a new grinder and i have been looking for a solidly build, European made, all purpose coffee grinder to replace my ageing Nivona Cafe Grano 130 (aka Capresso Infinity)
I have been looking around a lot and in a previous post where I asked about this Eurika was suggested and it feels like the best option for me among the bunch.
But this is a lot of money so before buying I need to know if what I'm about to do isn't completely stupid.
I want a single dose grinder with low retention since i change beans and brew method frequently. I love to experiment with all roast types so the grinder should be able to have some good all purpose burrs. I don't intent to have multiple burr sets or multiple grinders. I just want one that can do everything to a decent level (no perfectionism needed) and the grinder should last me a lifetime if possible.
I mainly brew with 3 methods. French press, pour over, and moka pot. I occasionally dabble with Turkish coffee but I have always just purchased pre ground for that but a grinder that can go towards that is interesting but not strictly necessary.
I have no need for espresso grind levels at the moment but since this is a by once grinder who's to say I won't own a small espresso machine in 5 years, so not needing to buy a new grinder for that is appealing.
The main reason i want to upgrade is the fact that my current grinder produces very uneven grinds with a lot of fines and some coarse bits at the same time making my French press bitter and my pour over and moka pot clog up easily. Tbh. I find the unevenness on par with a good blade grinder. Lighter roast coffees works the best but the uneven grind makes for what I feel is under extraction since it lacks sweetness even though I grind relatively fine, long brew time and high temps. I would love to get more clarity out of my beans and taste the more fruitier and sweeter notes. Darker roasts just turn bitter and muddy no matter what i do.
With those needs in place I narrowed it down to the Eurika mignon single dose pro or the mignon zero 65 all purpose which quite a lot cheaper.
The Pro is interesting to me because of the new type burrs that should last forever and the exceptionality low retention. It should also have an antistatic system.
Only downside I can find myself is the very small hopper of 45g. For daily use i grind only 30g of coffee for my French press which is fine, but when i have guests i pull out the big boy brewer where i need to grind 60g - 80g. It is rare i need it and tbh. i can easily live with just grinding 2 times.
So please help me out. Should I just go cry and buy the mignon zero pro or is the mignon zero 65 All purpose just as good or, have i missed some other grinder where the value is much better and my money better spent.
Thank you.
She just loves playing fetch.

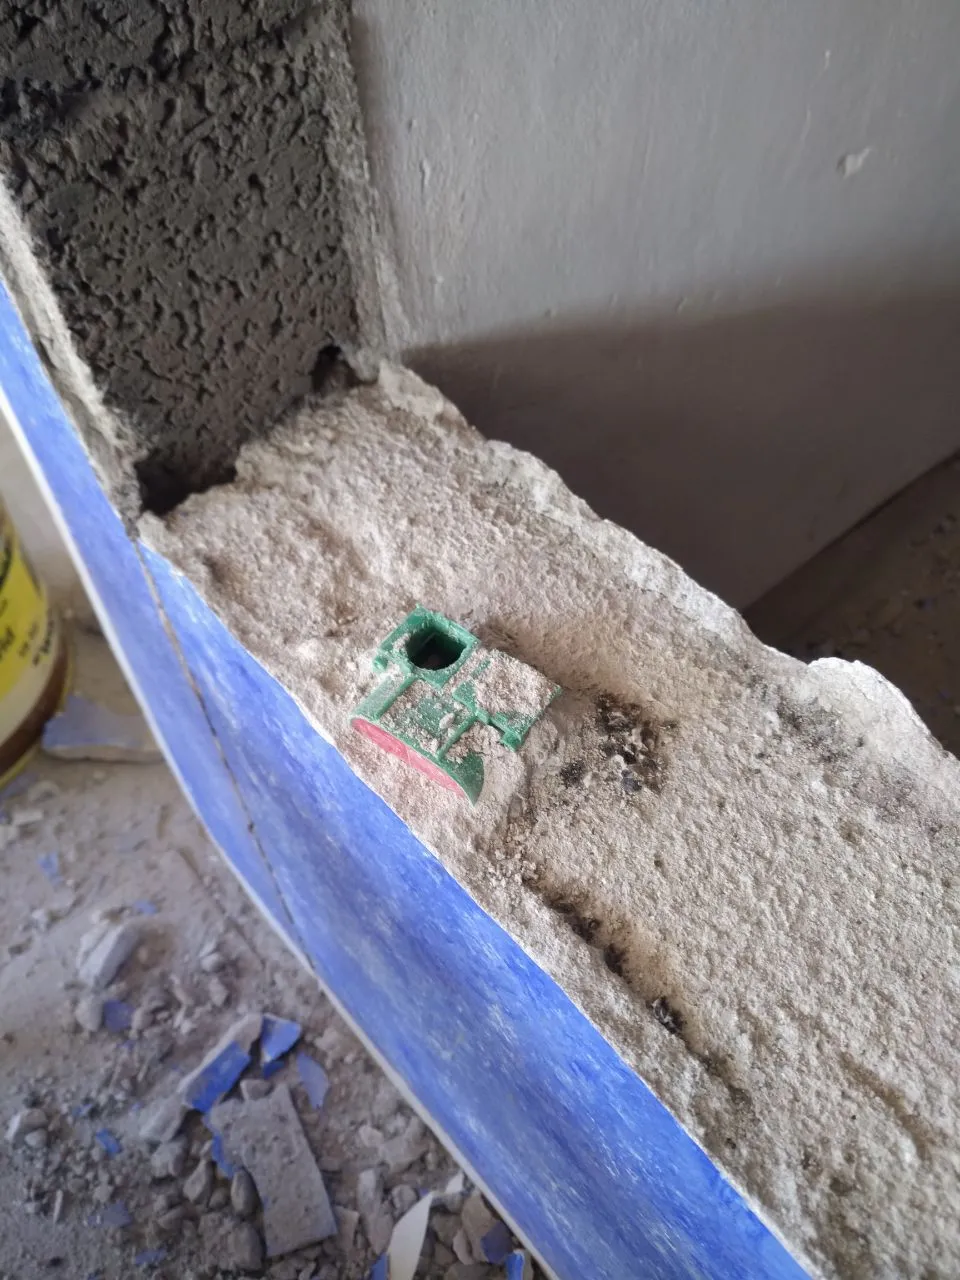
Fandt en tilfældig tom indmurings dåse i vægen under renovering... Og det er endda lavet af proffesionel elektriker for 40 år siden. Utrolig godt gemt, men nu er alle ude af dåsen!


Alle billederne er taget med min telefon (Google Pixel 5a5g) og dem hvor der er zoomet ind har jeg taget billedet gennem min kikkert hvilket virker overraskende godt.
Danish rye bread, known as "rugbrød," is a staple in Danish cuisine, renowned for its dense texture and rich, slightly tangy flavour. My recipe however is on the milder side and is probably more palatable to people from outside Denmark. This bread is packed with whole grains and seeds, making it not only delicious but also nutritious. Unlike lighter, airier wheat breads, Danish rye bread has a robust, chewy consistency that pairs perfectly with a variety of toppings. It's commonly enjoyed as an open-faced sandwich, topped with an array of ingredients such as cold cuts, cheeses, smoked fish, eggs, fresh vegetables, or simply just a good layer of butter. Whether for breakfast, lunch, or as a snack, Danish rye bread provides a satisfying and wholesome base for any meal.
I hope this recipe will work for you, and please let me know if the bread doesn't turn out well, as the recipe always works perfectly for me every single time. I buy flour at the local discount food store, but I've used many different brands, and it still works just as well.
Good luck and feel free to send pictures of your results.
Link to original post in danish
Everyday Rye Bread with Lots of Seeds
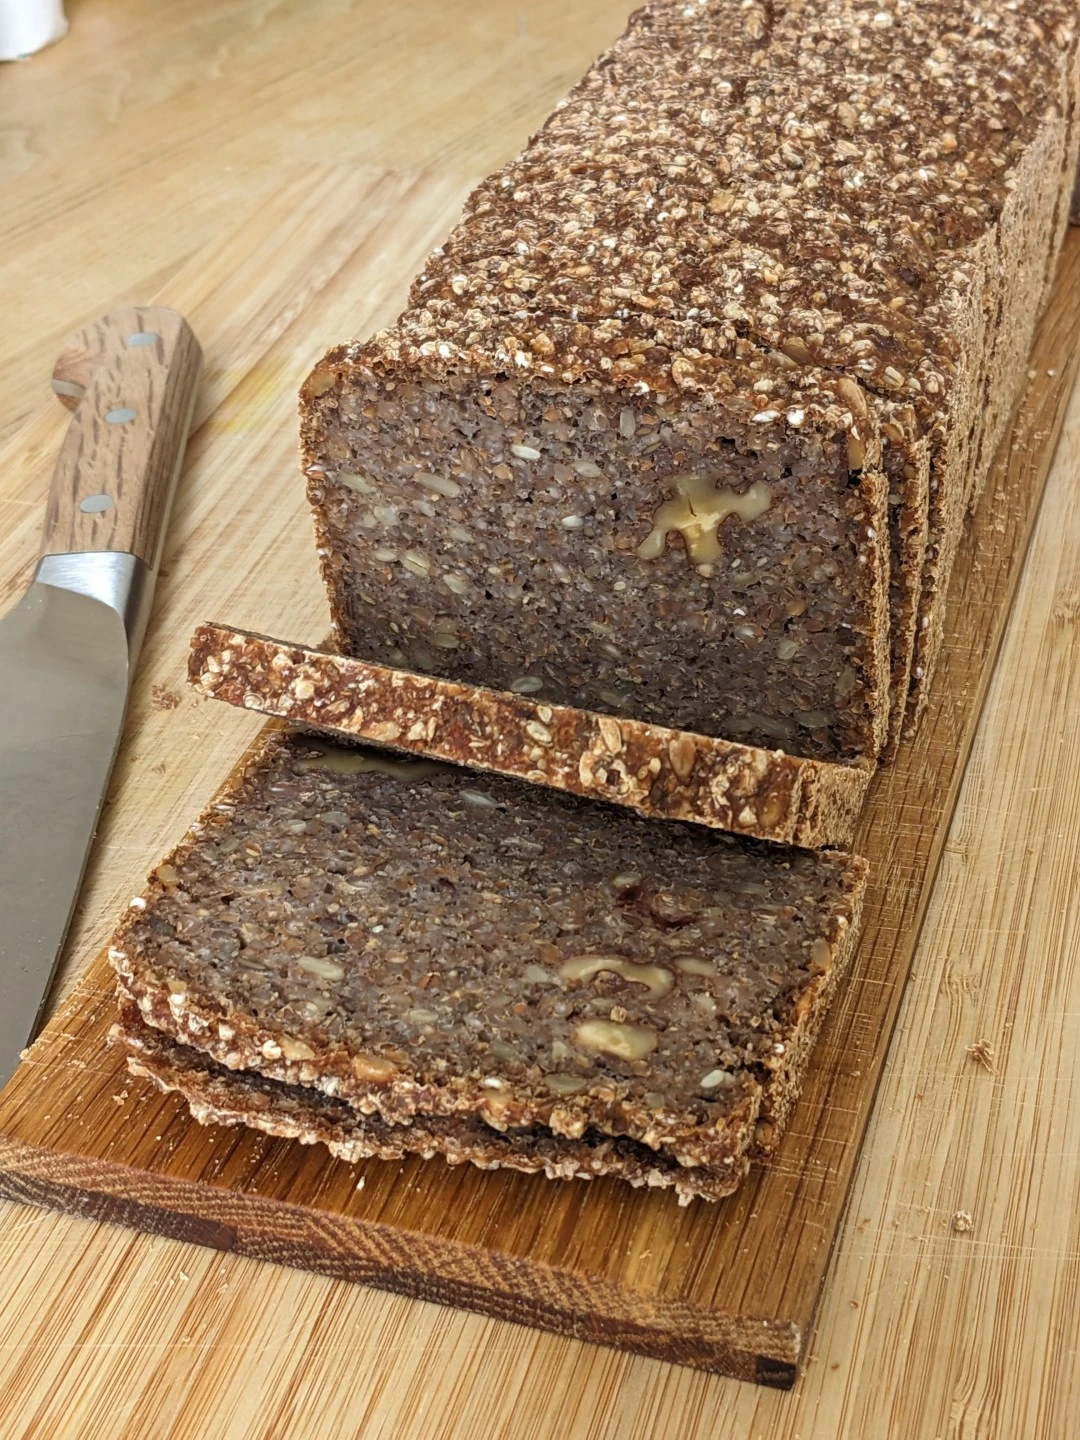
Ingredients
the recipe is for a single loaf of rye bread fitting a 3L bread pan
-
10 g fresh yeast (3g dry i think)
-
3 dl buttermilk/kefir/yoghurt or whatever you have on hand.
-
5 dl water
-
Juice of 1 lemon
-
12g salt
-
365 g rye kernels
-
200 g wheat flour
-
270 g rye flour
-
315 g additional seeds, mix as you like, e.g.
- 90g flaxseeds
- 90g sunflower seeds
- 90g walnuts
- 45g chia seeds
- 1 Tbsp dark malt flower (optional)
For the additional seeds, you can instead also use:
- A handful of cranberries
- Wheat kernels
- Pearl barley
- Chopped almonds
- Hazelnuts
- Oats
Mixing
Dissolve the yeast in the wet ingredients and then add the rest of the ingredients. Mix everything well for 10 minutes on the machine. If you don't have a mixer, you can stir it by hand in a large bowl with a wooden spoon/spatula. Then pour the dough directly into a 3-liter bread pan. After the dough is in the bread pan, smooth the surface with a wet spatula or fingers. If you like, you can sprinkle some seeds on top as decoration (I usually dont).
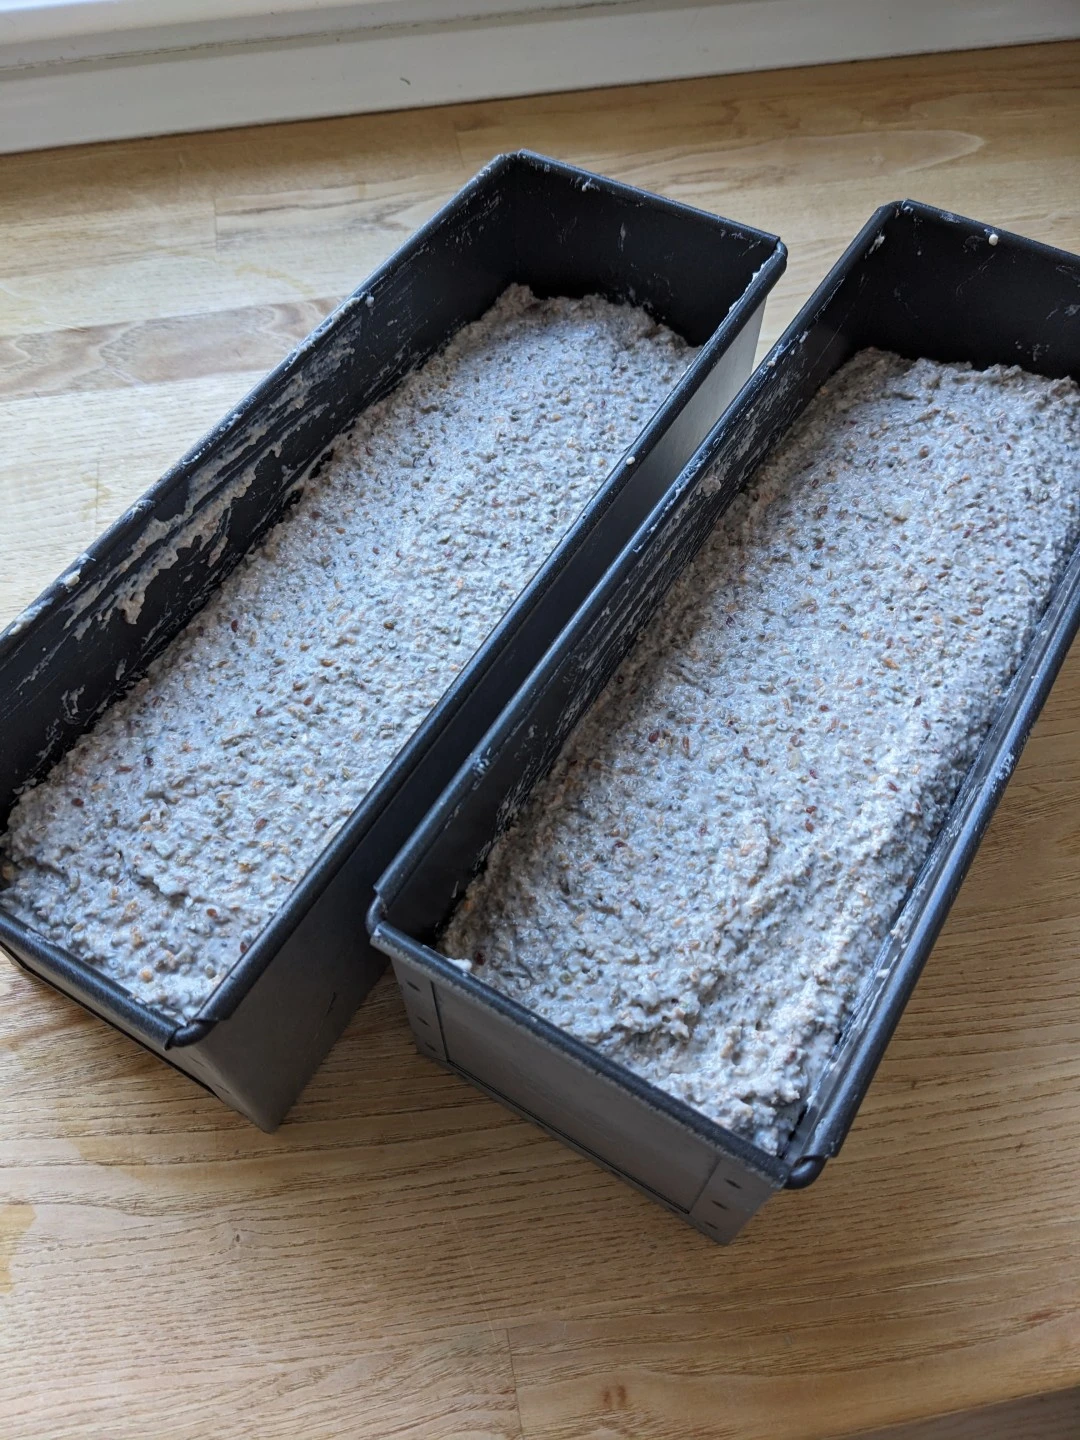
Cold Rising
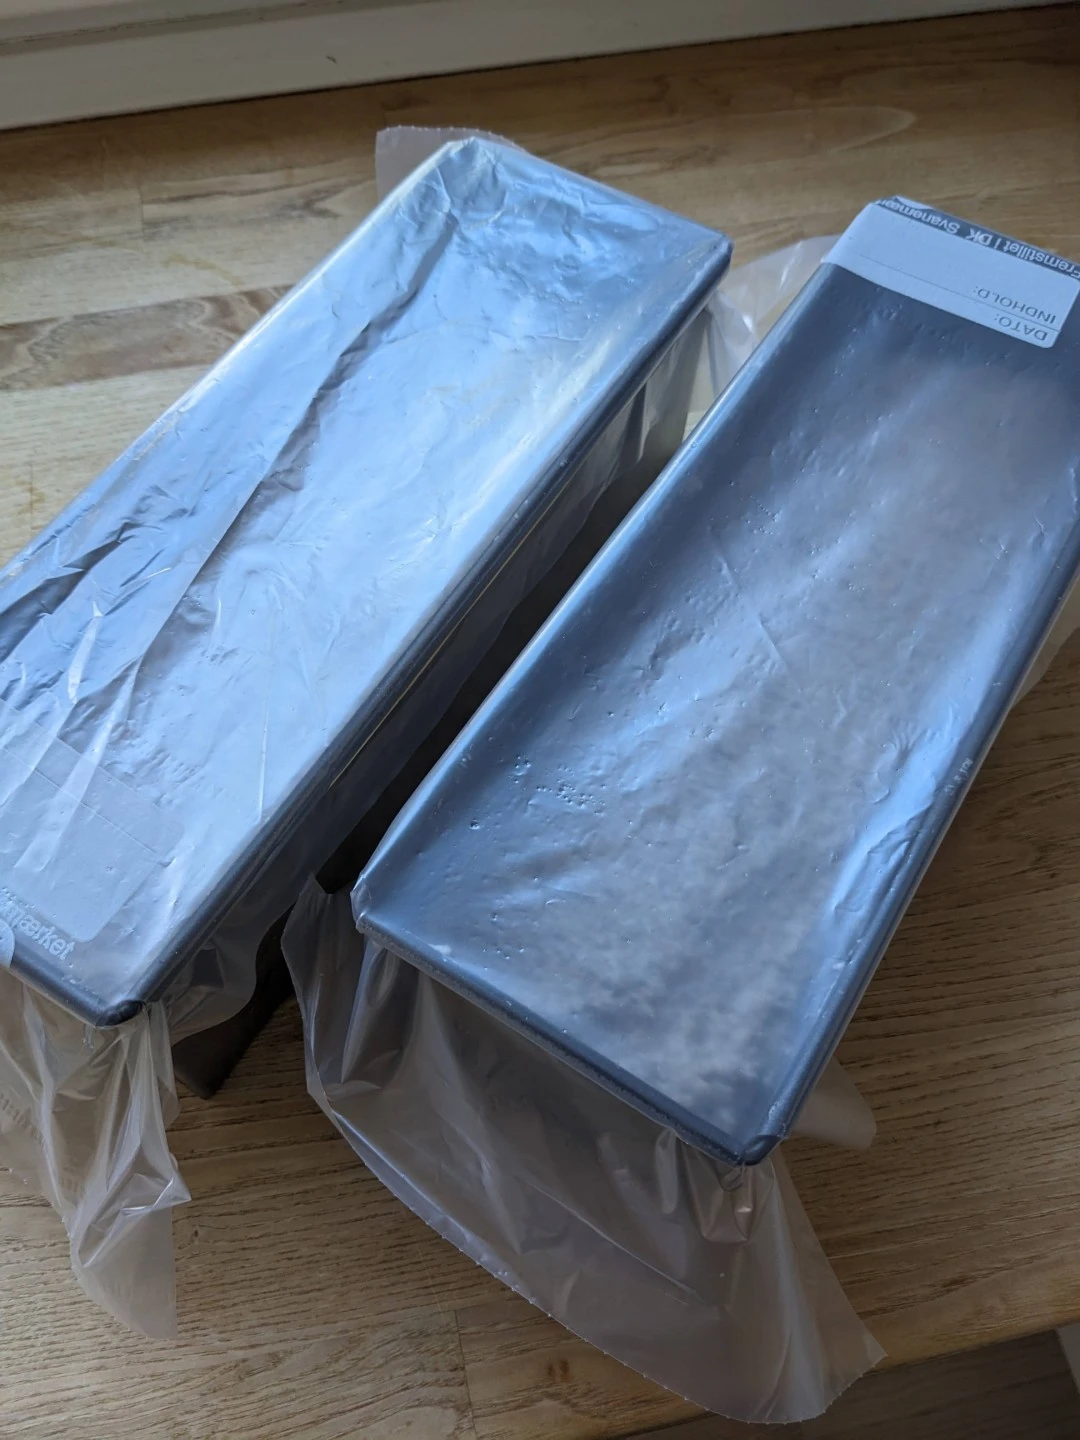
Cover the bread pan with an 8L plastic bag and an elastic band, or use cling film. Place in the refrigerator for 12 - 24 hours.
If you want to bake the same day, you can use about 15 g of yeast and let the dough rise at room temperature for about 2 hours instead, but be careful not to let the dough rise too much as it happens much faster than in the refrigerator. I generally discourage this as it gives the seeds and kernels less time to absorb the water. Cold rising in the fridge is preferable.
Baking
Take the bread out of the refrigerator 1-3 hours before it is to be baked so it can come to room temperature and finish rising. Keep an eye on the dough and see how quickly it rises, so you can preheat the oven in good time. When the dough is ready, it should preferably go straight into the oven.
The dough is ready when there are 5-10 small pinhead-sized bubbles on the surface. This is not always visible as it depends a bit on the flour, but otherwise, 2 hours is usually enough. Generally don't let it stay for more than 2 hours, especially if you live in a hot climate.
Preheat the oven to 180 degrees and put the bread in when it is ready. No fan. Place the bread on the very bottom rack, as low as possible. Bake the bread for about 1 hour 50 minutes or until the internal temperature of the bread is 96-98 degrees.
Take the bread out of the bread pan immediately after it has finished baking and let it cool on a rack
Remember that ovens can vary, so if the bread, feels a bit soft on the bottom side and slightly under baked, give it another 5-10 minutes in the oven but this time leave it out of the bread pan. If you feel like it takes significantly longer than 1 hour and 40-50 min to bake maybe your oven is a bit colder than mine so raise the temperature 5 degrees next time you bake.
Wait with slicing and plastic baging the bread until it is completely cooled. It can take several hours. You can put a thin tea towel over it while it cools on the rack if you want a softer crust or to protect it a bit while cooling over night.
Enjoy.
Tips
Mix the dough in the evening and put it in the refrigerator until the next day. Then you can take the bread out when you get home from work the next day and bake it durring the evening and have it cool down over night.
When the bread is completely cooled, it can be sliced with a sharp knife (not serrated) and put in a bag in the freezer. When you want to use the bread, the frozen slices can easily be separated with a knife blade and a little push. The slices are toasted in the toaster and eaten warm.
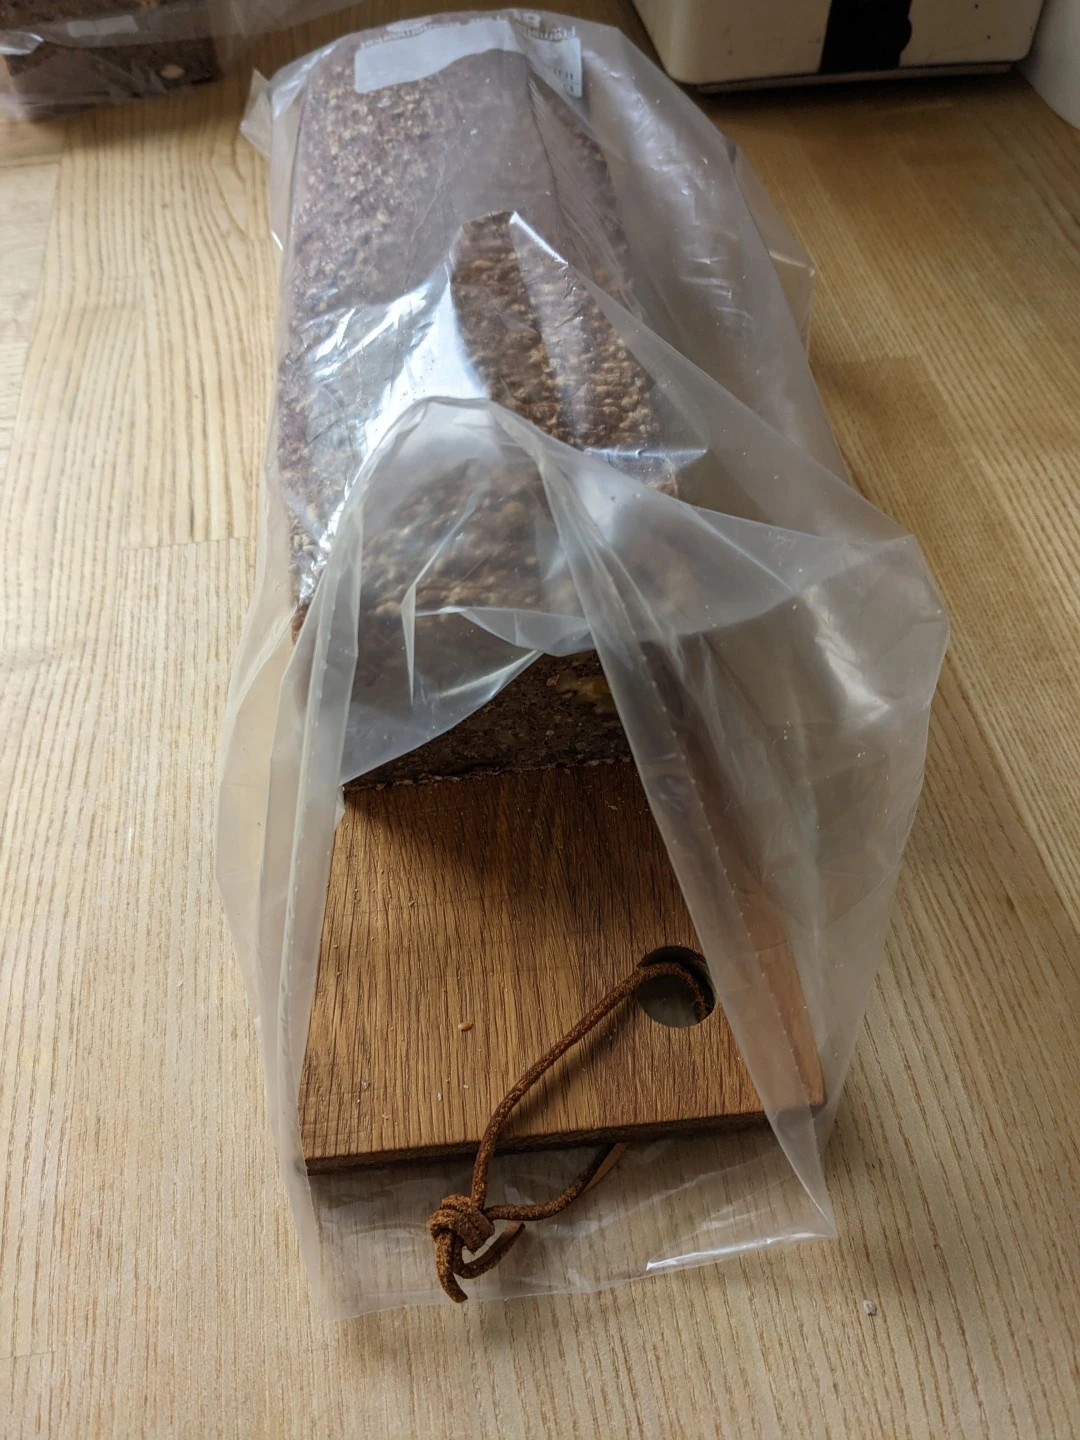
If the bread is sliced on a narrow cutting board, it is much easier to put in a bag as seen in the picture below.